This feature is only available on Dub Enterprise.
For Dub Enterprise users, you can securely manage your team's access to Dub using Azure AD SAML SSO.
Step 1: Create or Select SAML Application
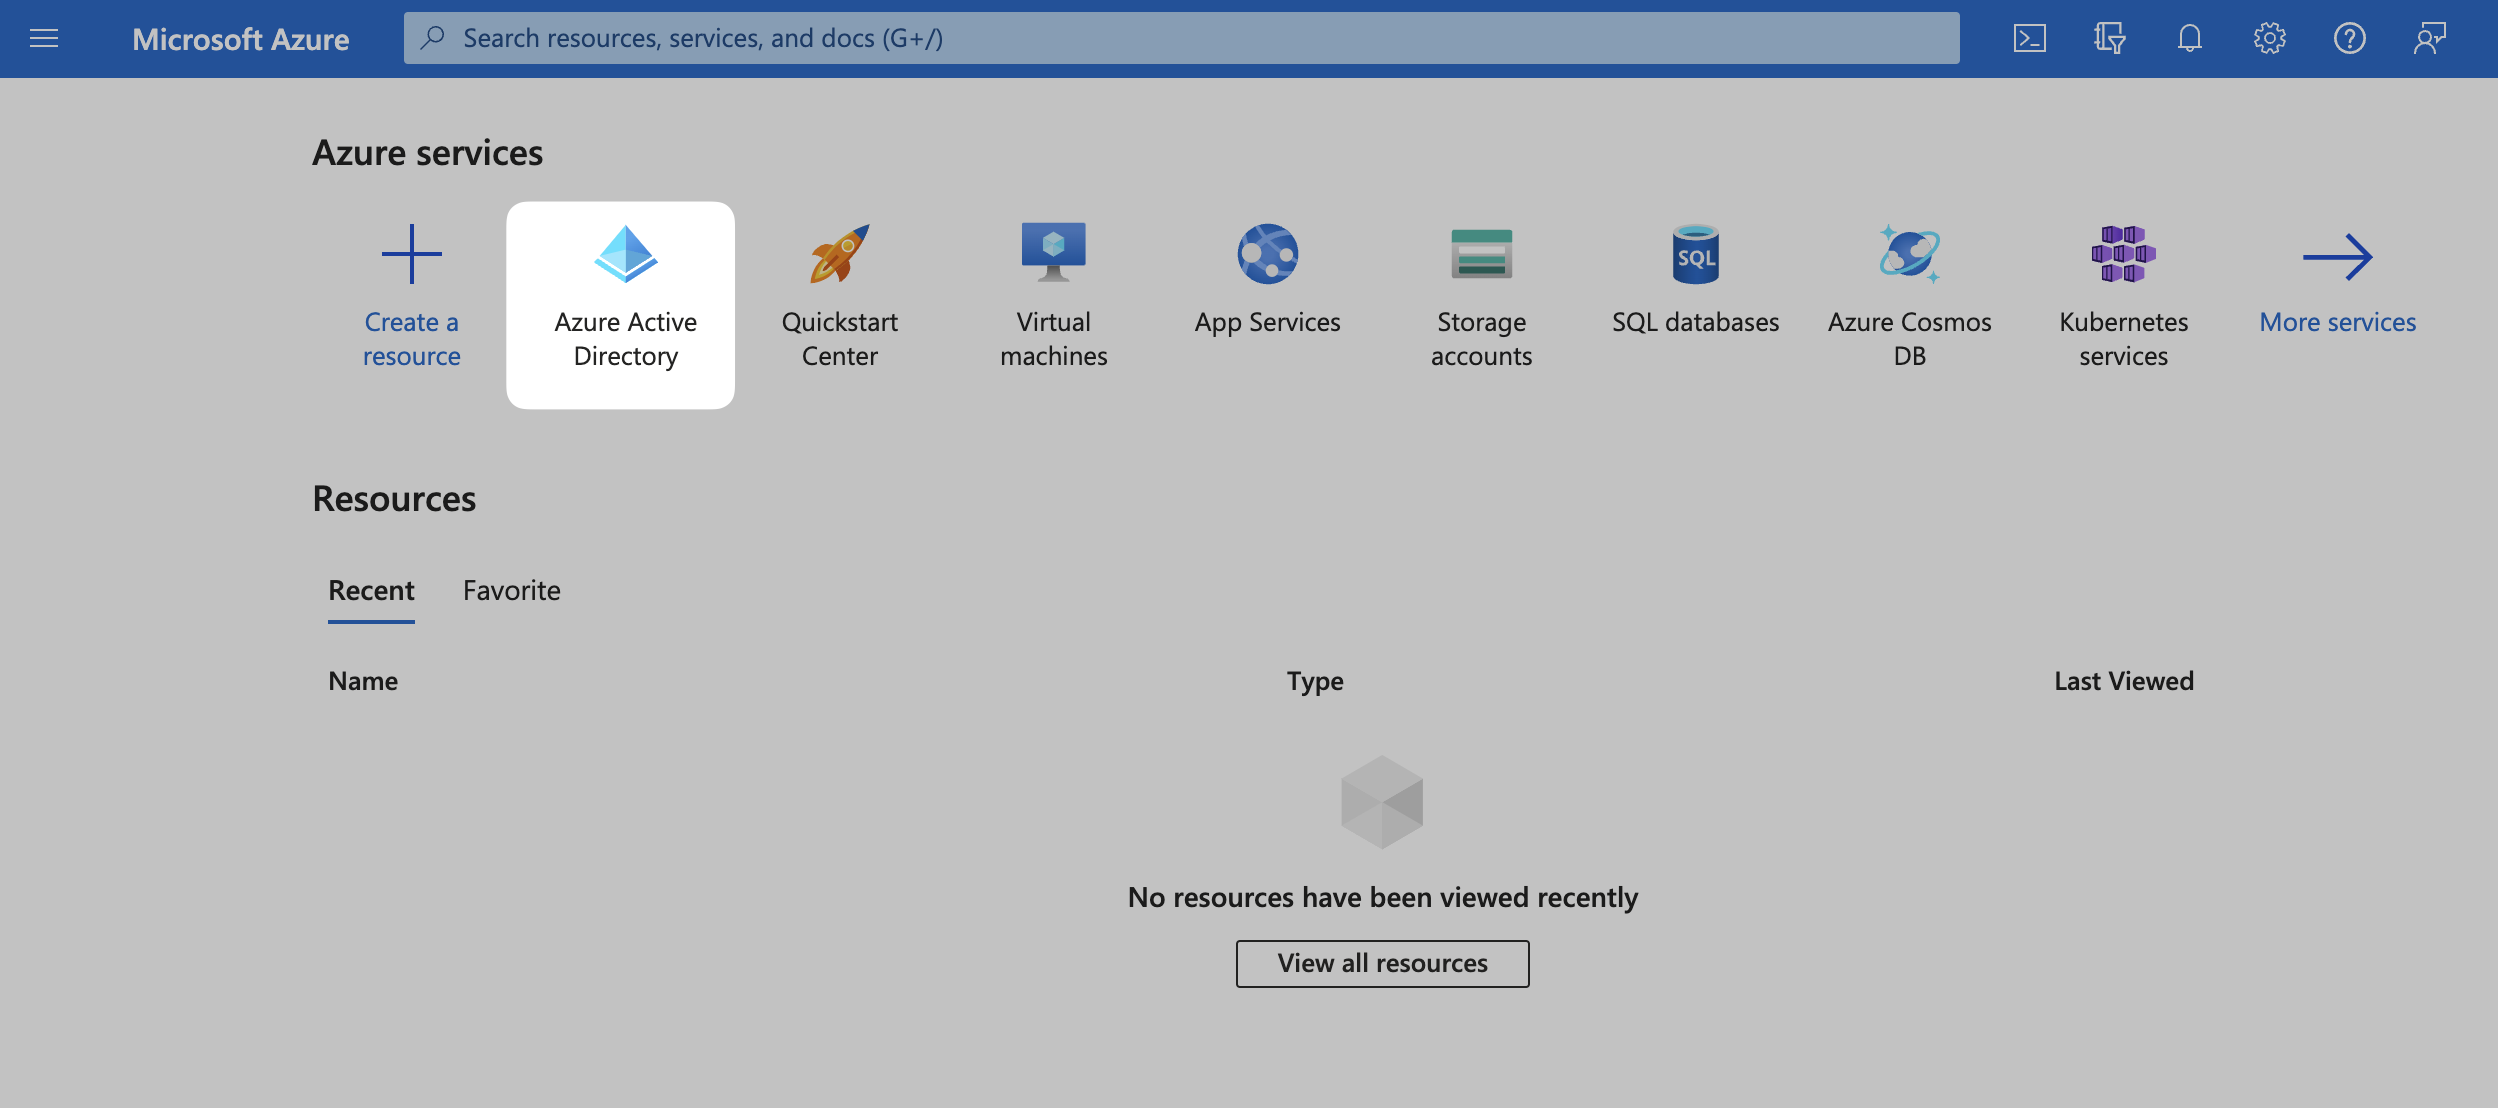
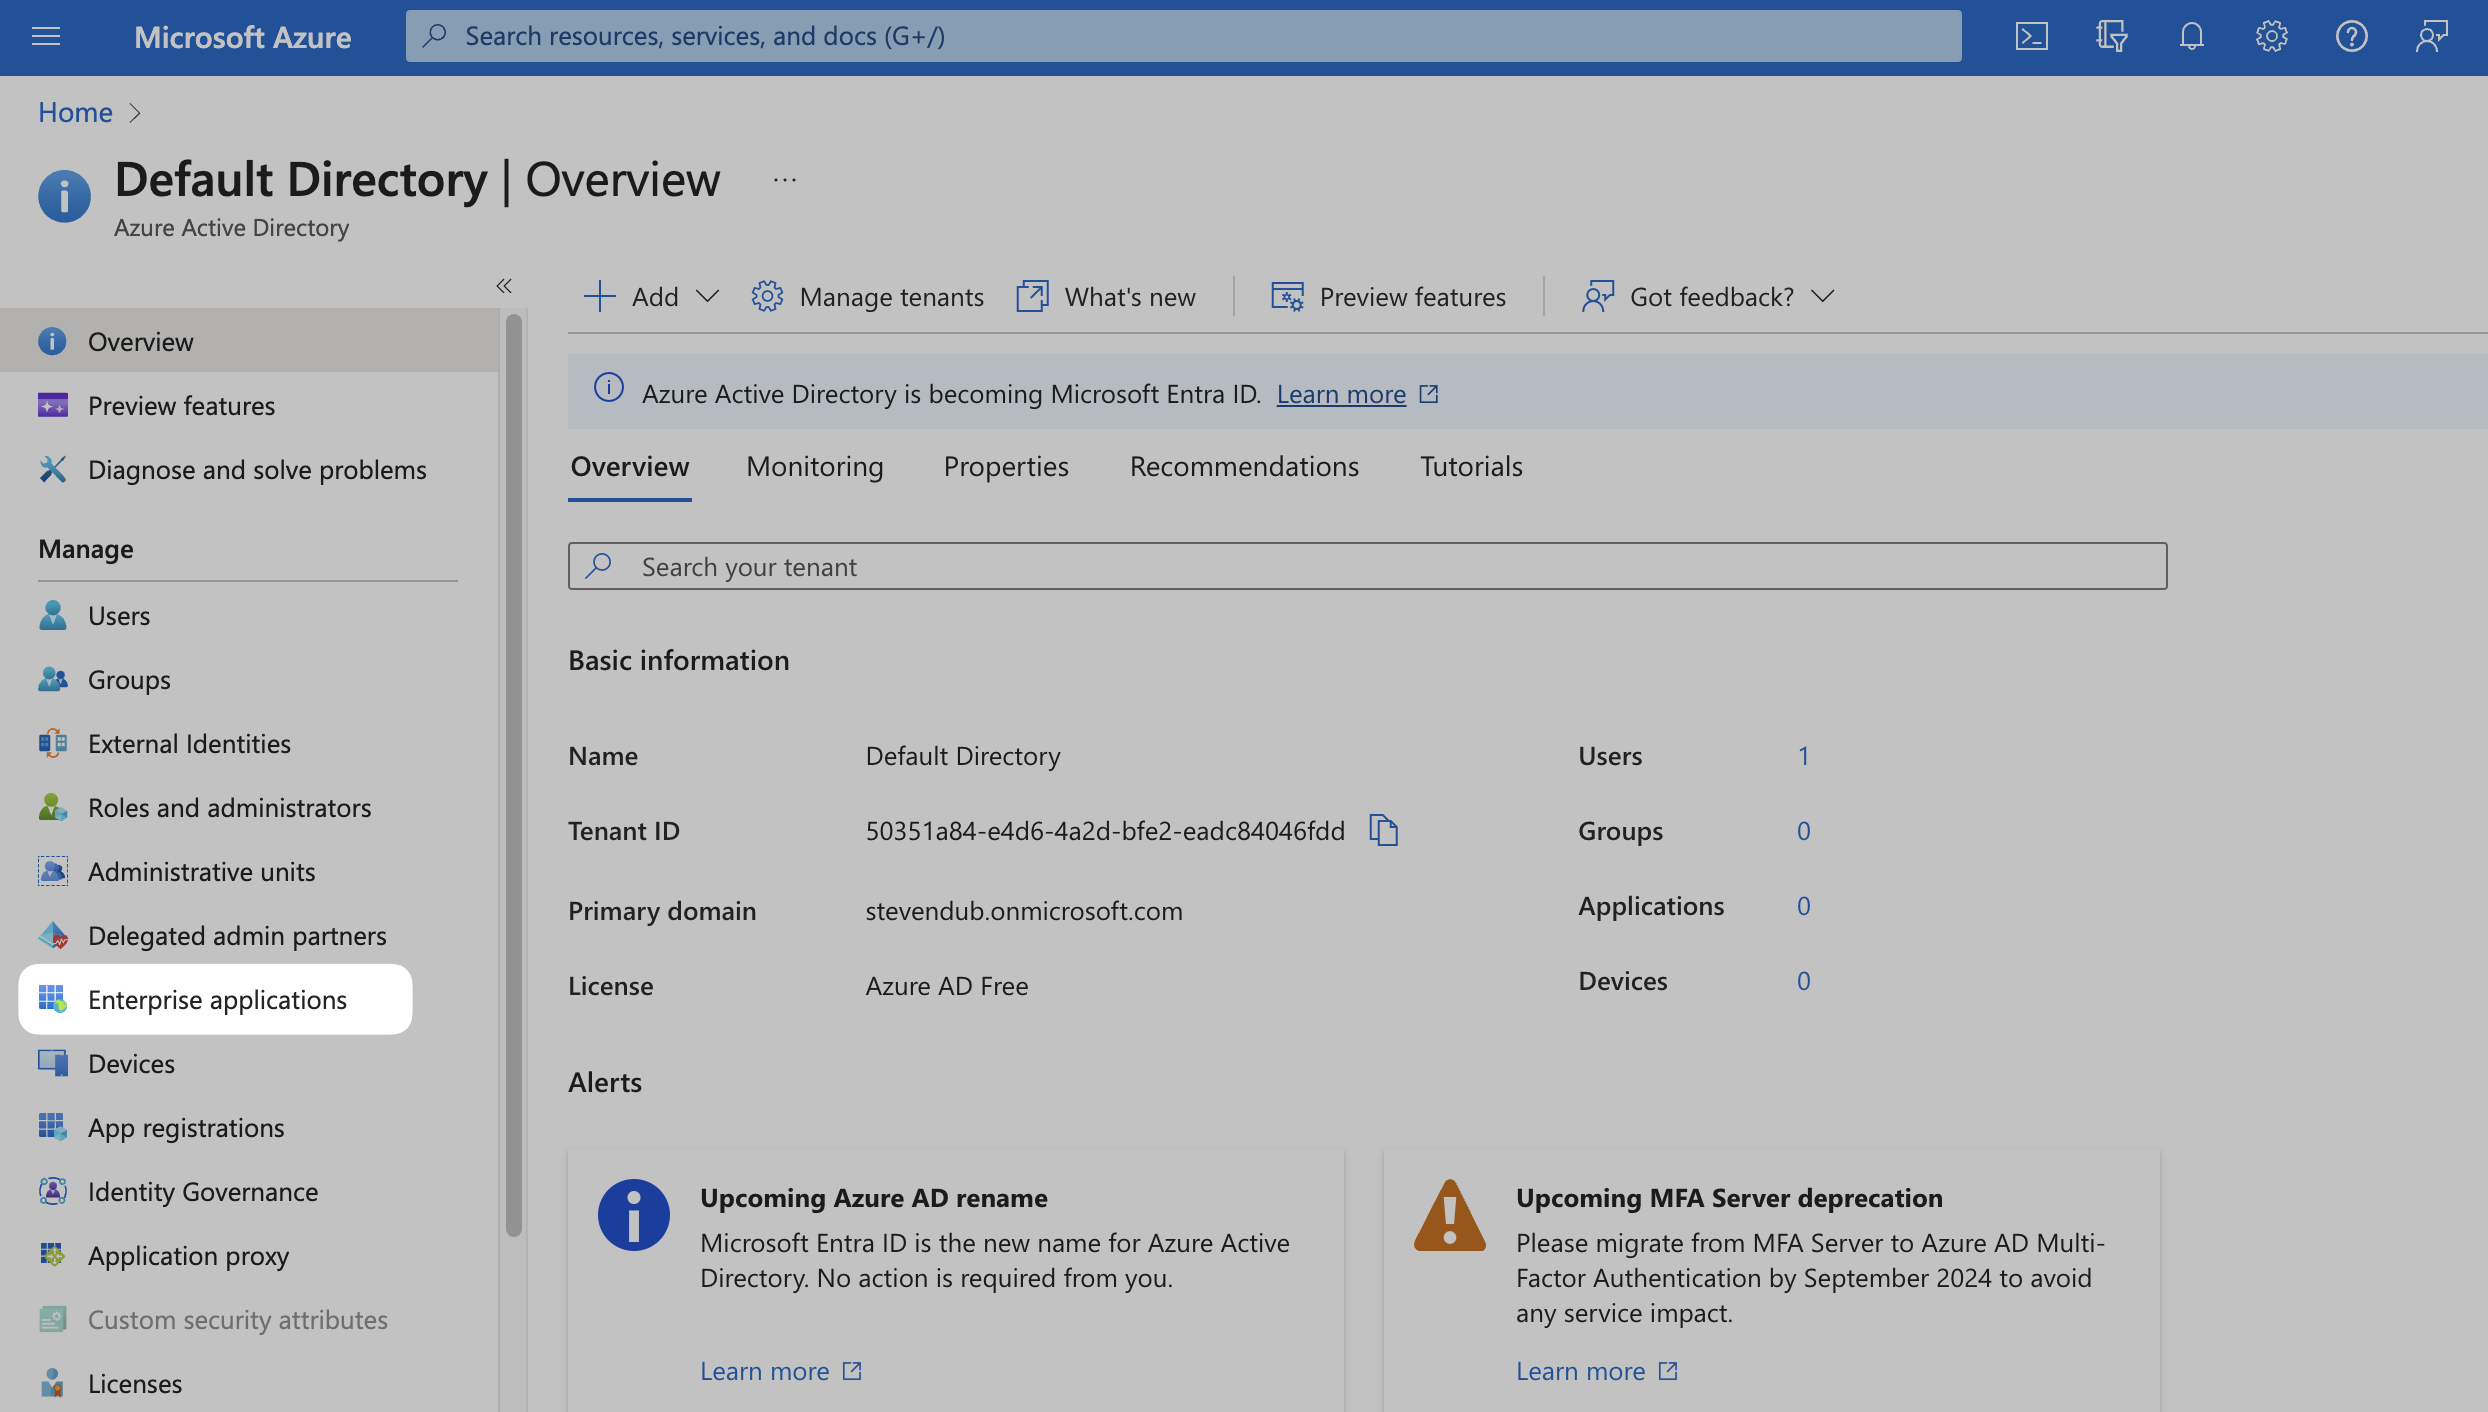
In your Azure Admin console, select Azure Active Directory (or search for it in the search bar).
Then, click on Enterprise applications from the left sidebar.
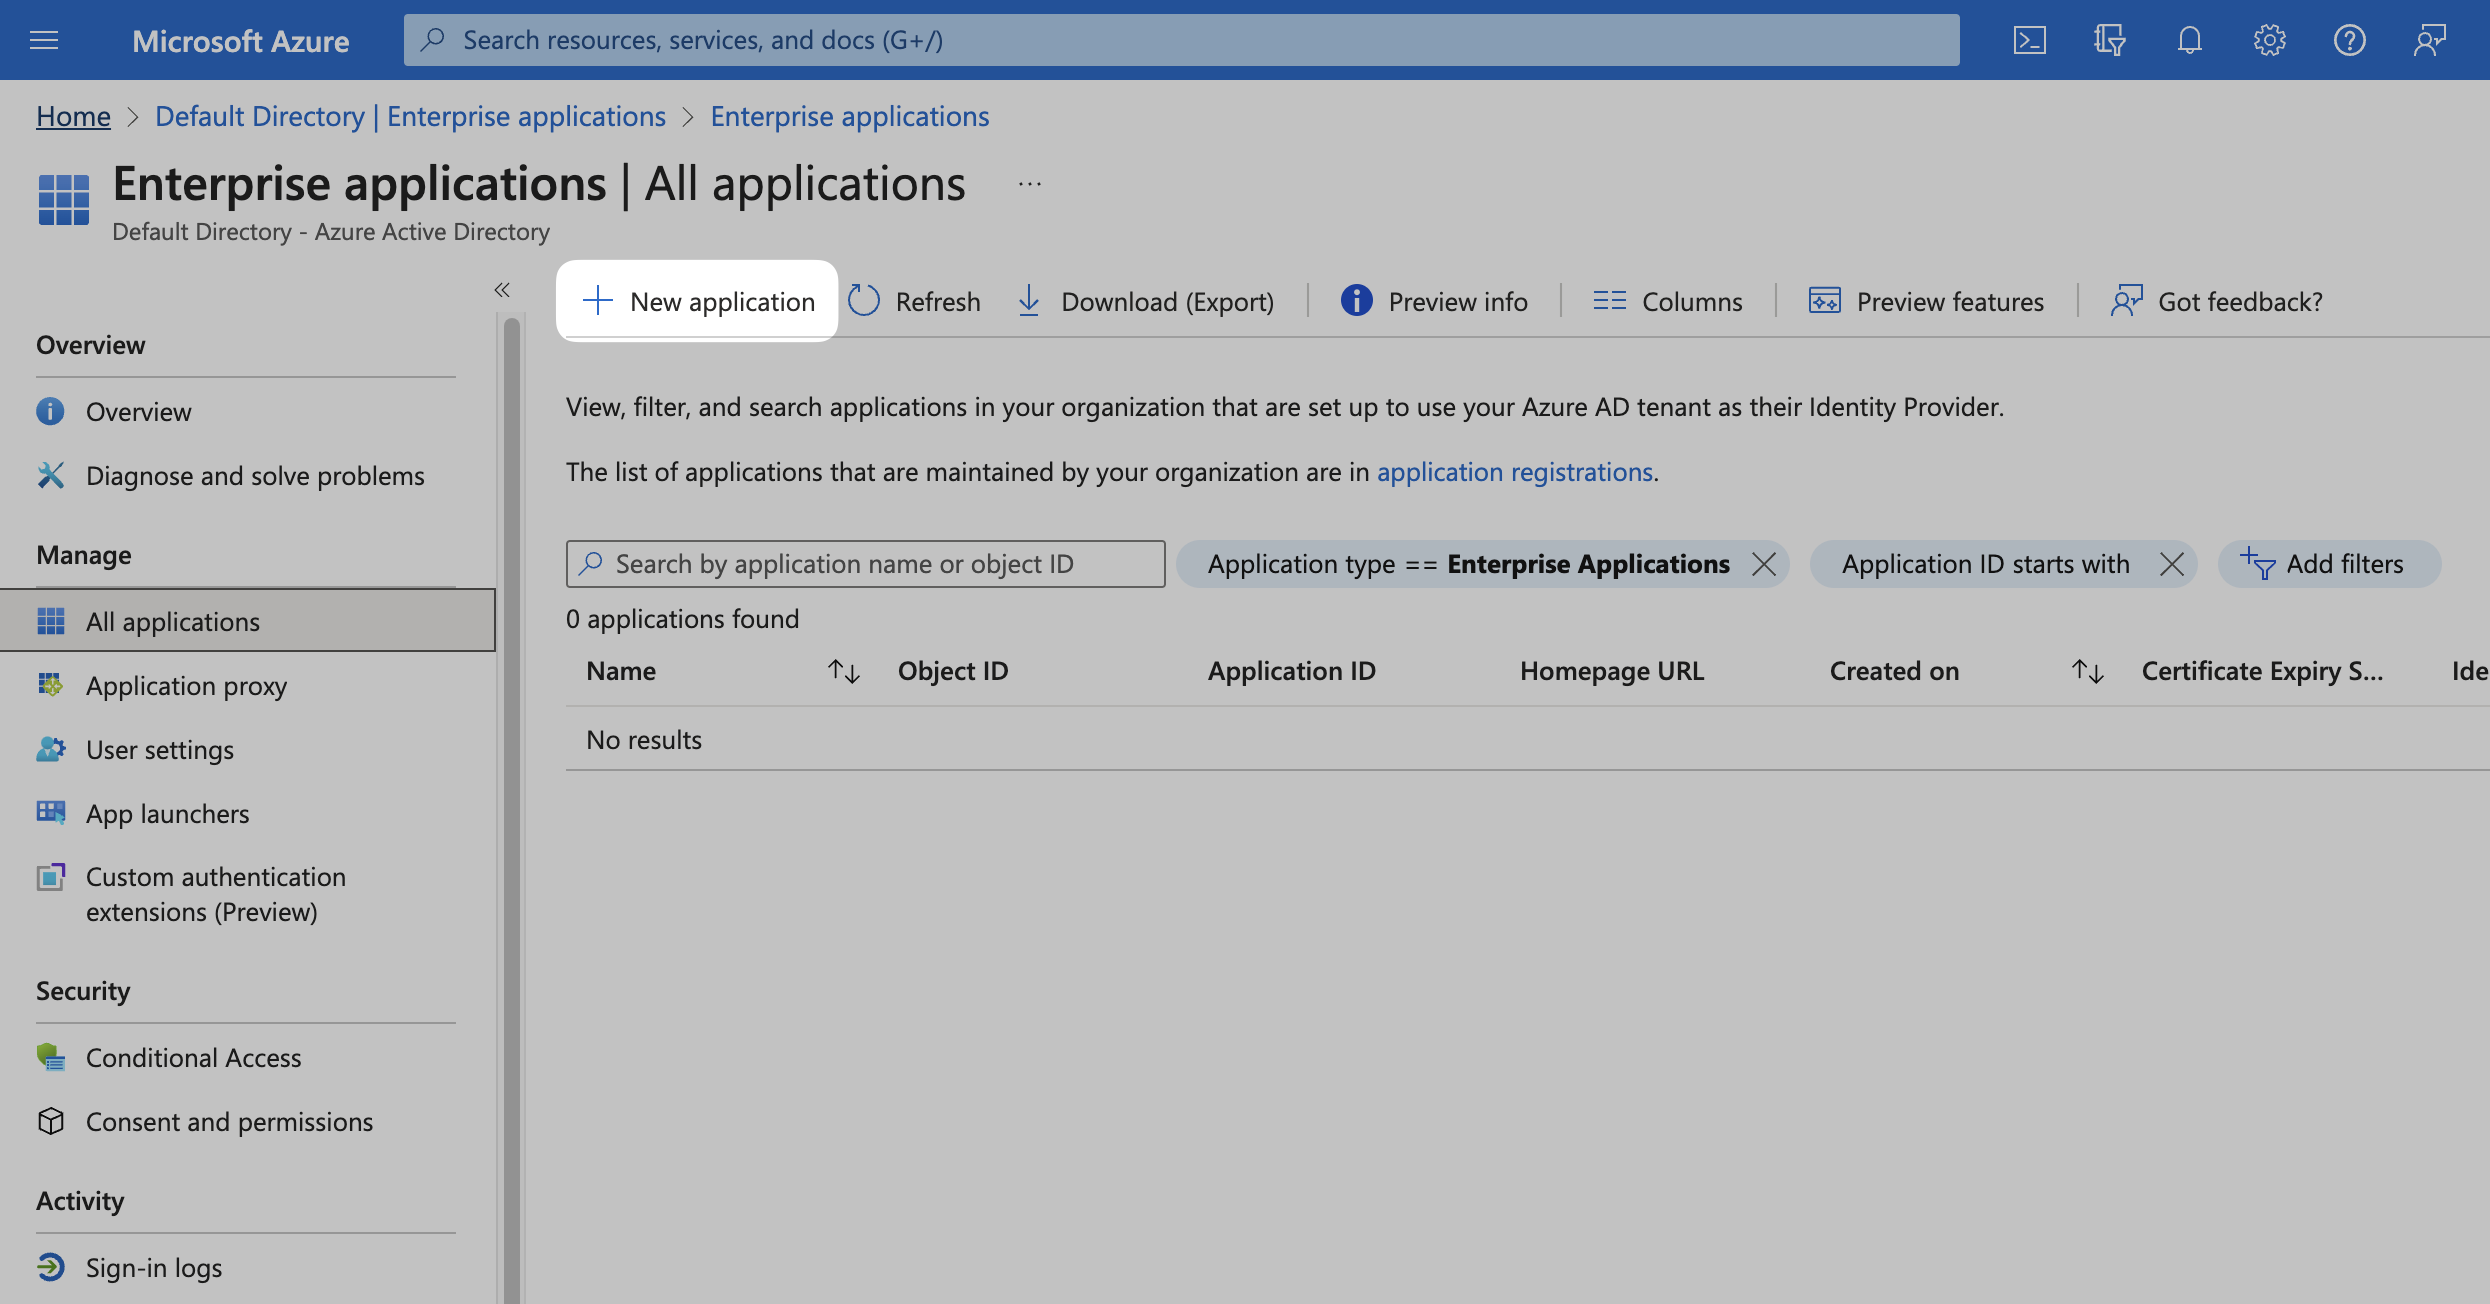
If you already have an existing Azure AD SAML application, select it from the list and move on to Step 2.
If not, click on New application at the top.
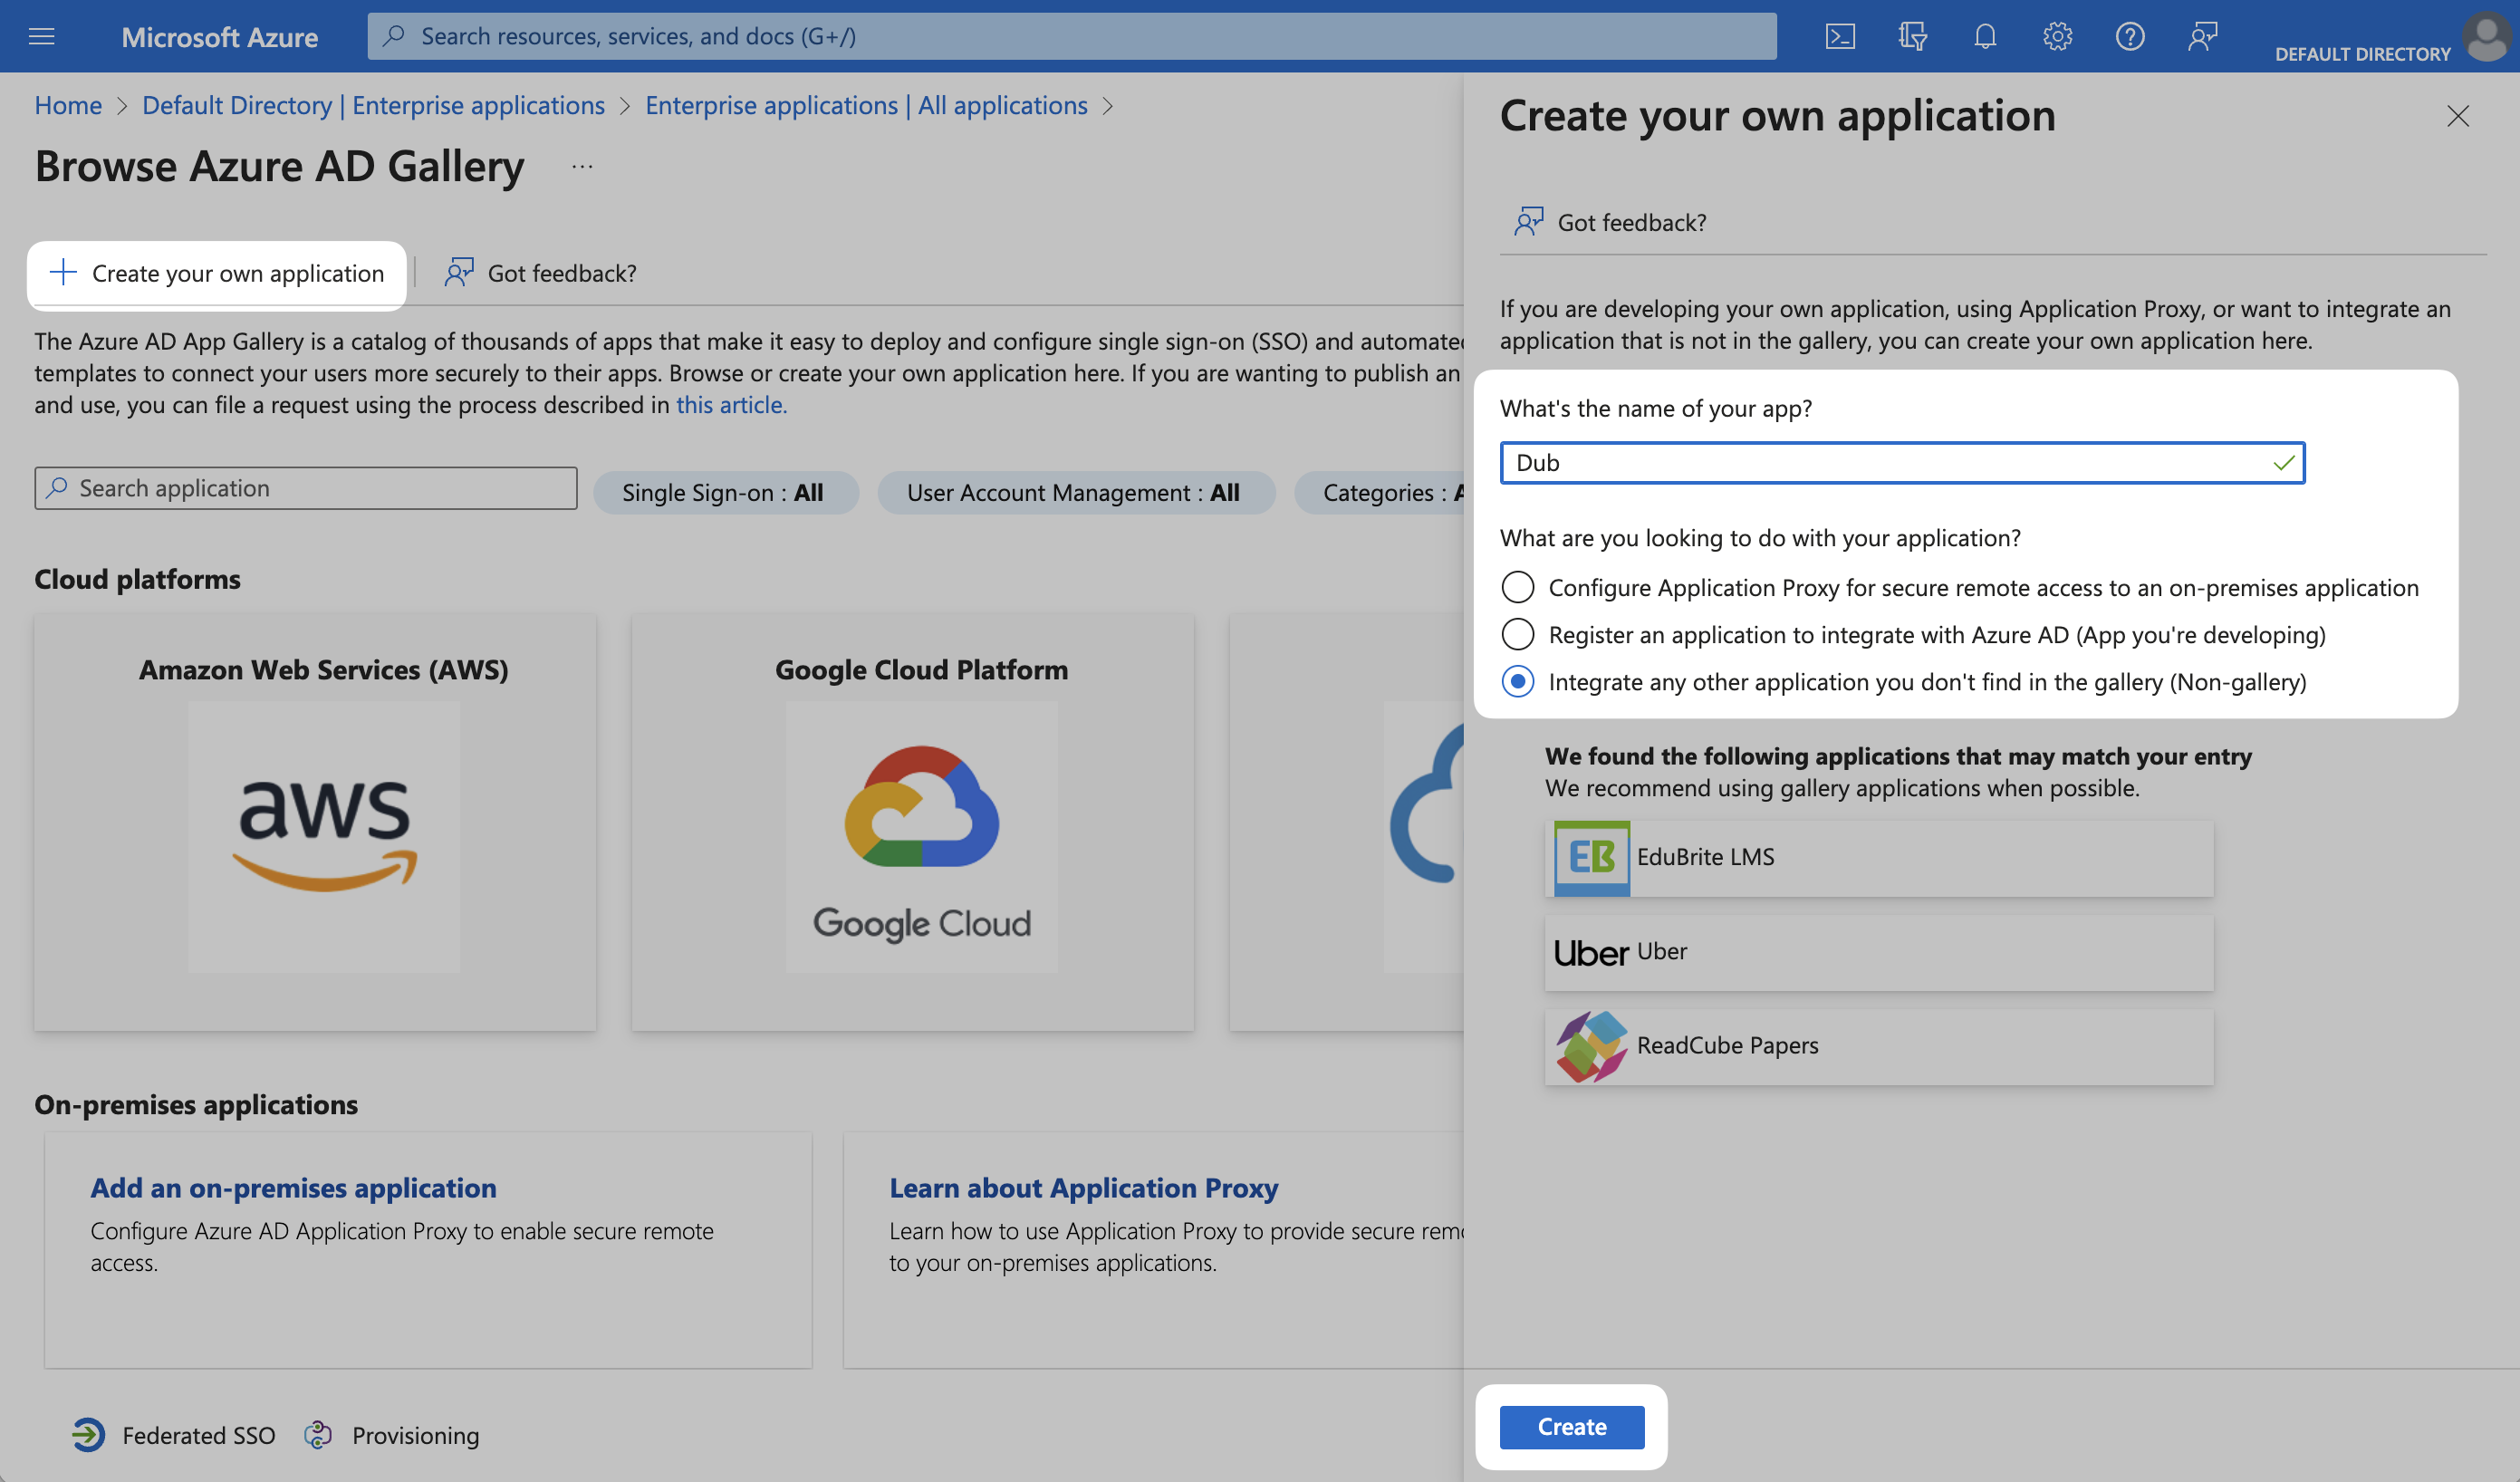
In the next screen, click on Create your own application. Give your application a Name (e.g. "Dub") and click Create.
Step 2: Configure SAML Application
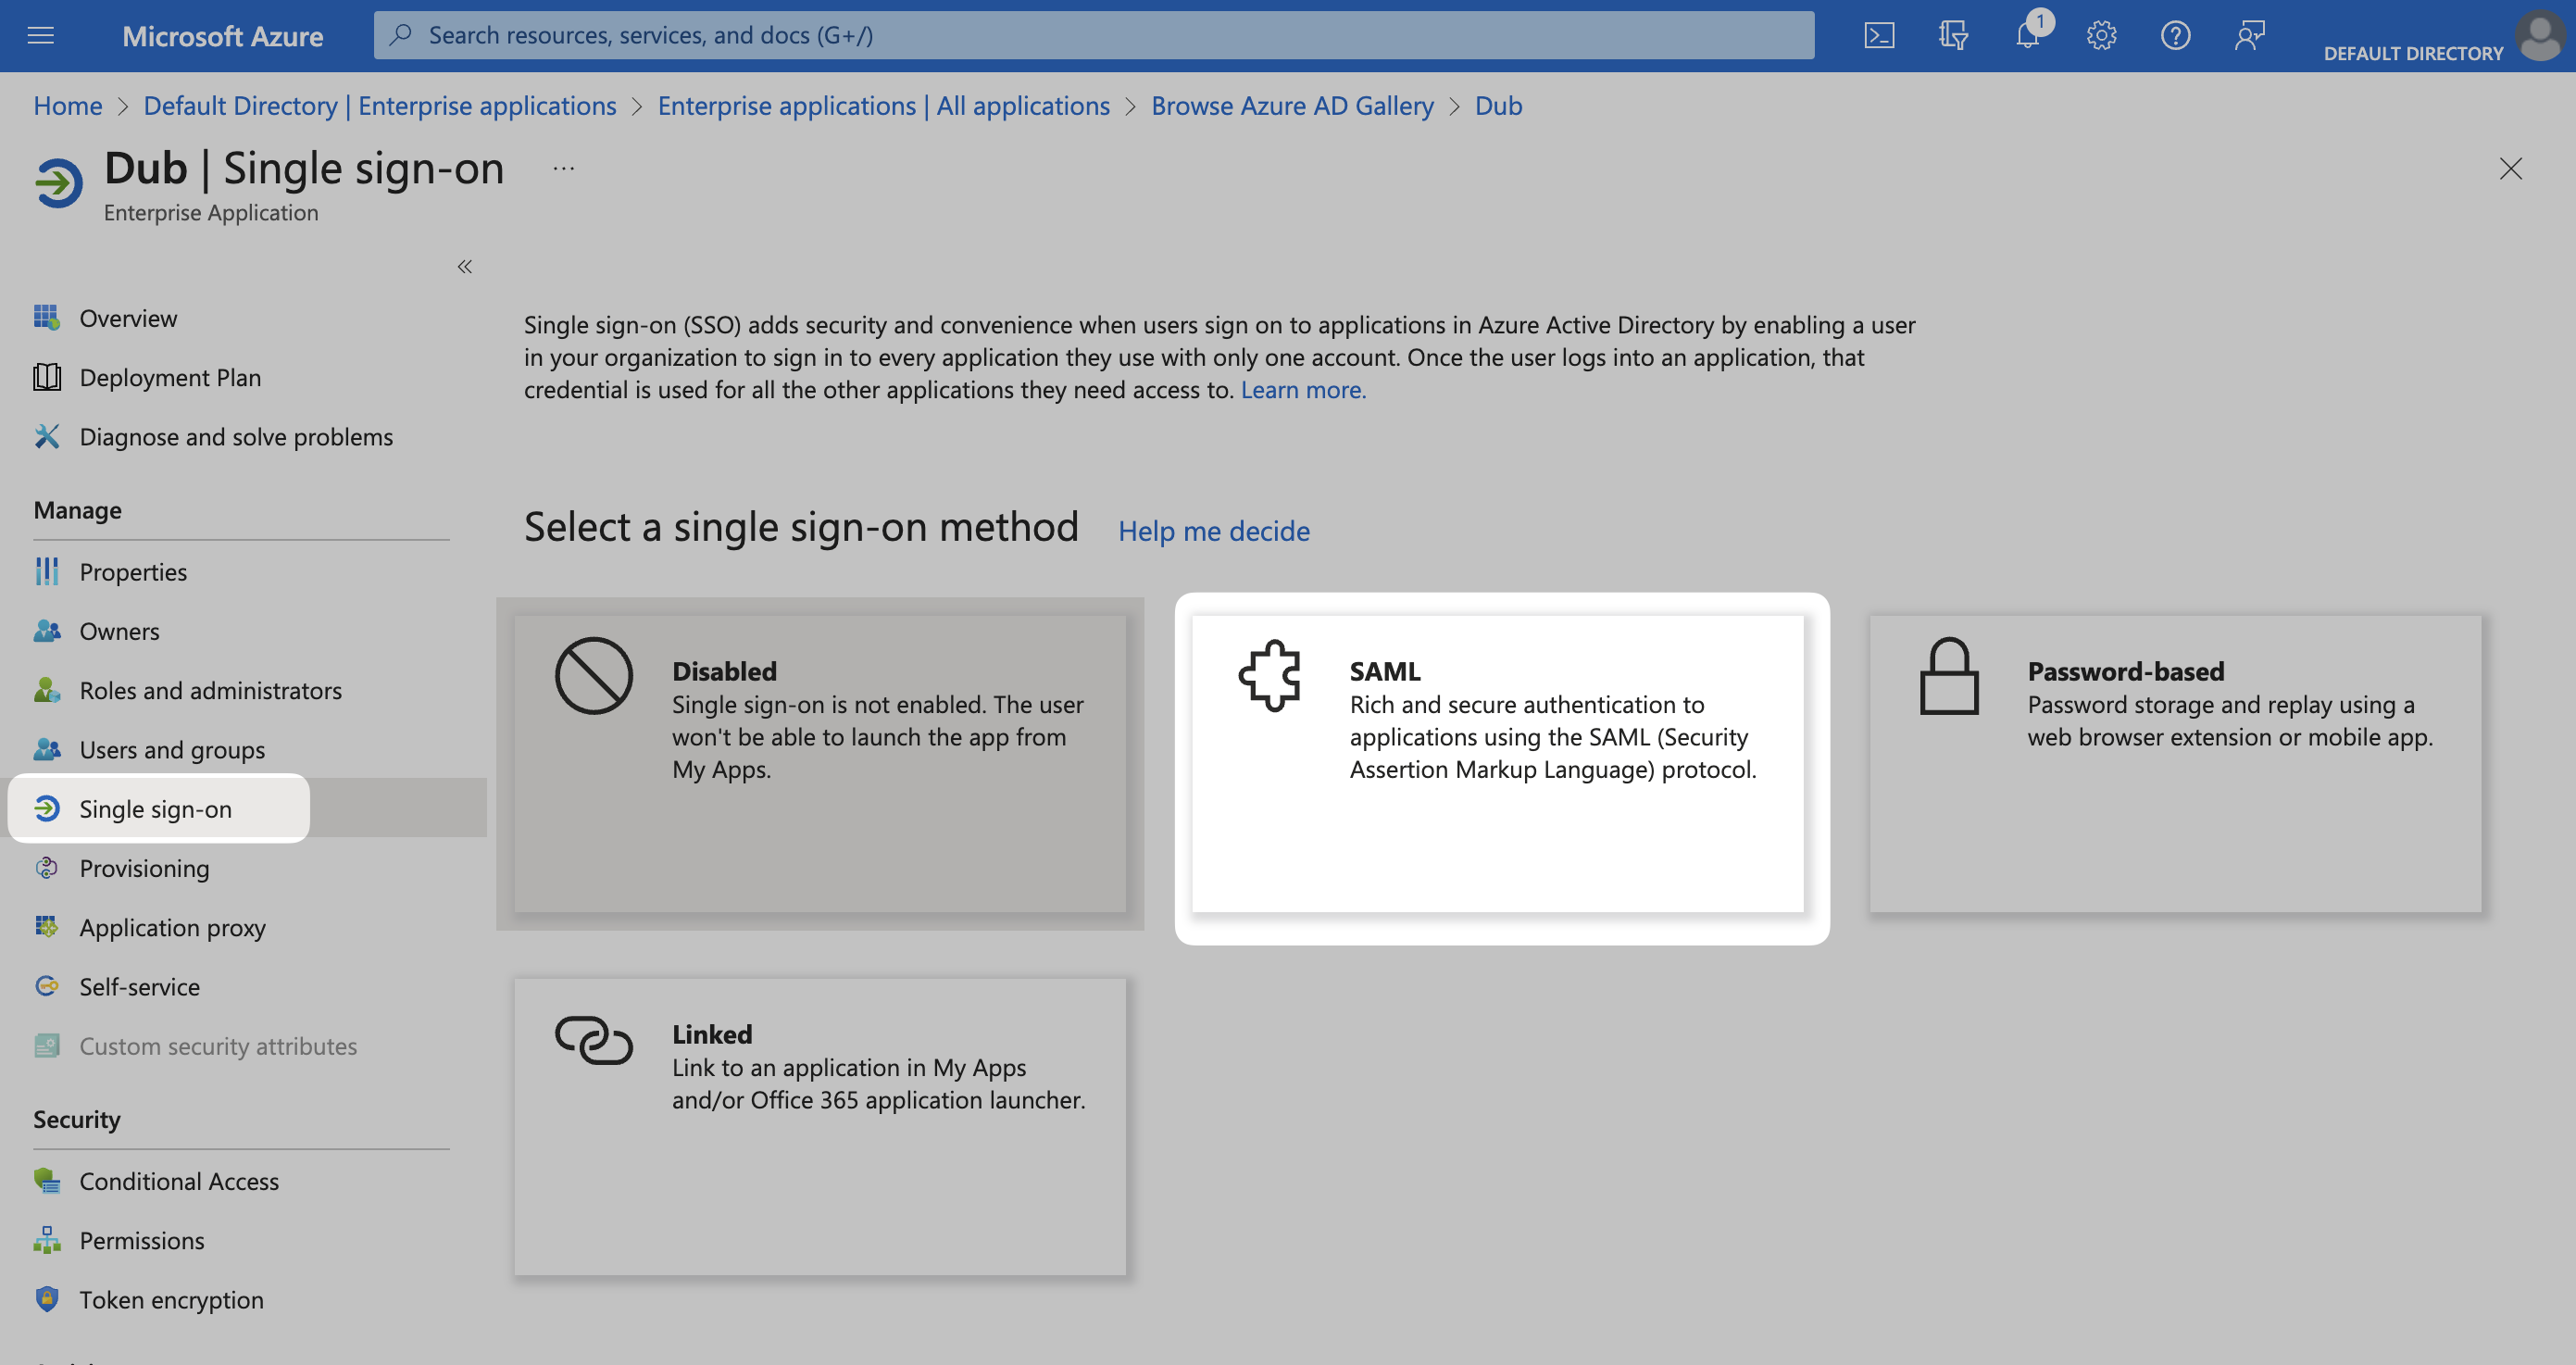
Under the Manage section in the left sidebar, select Single sign-on. Then, click on SAML.
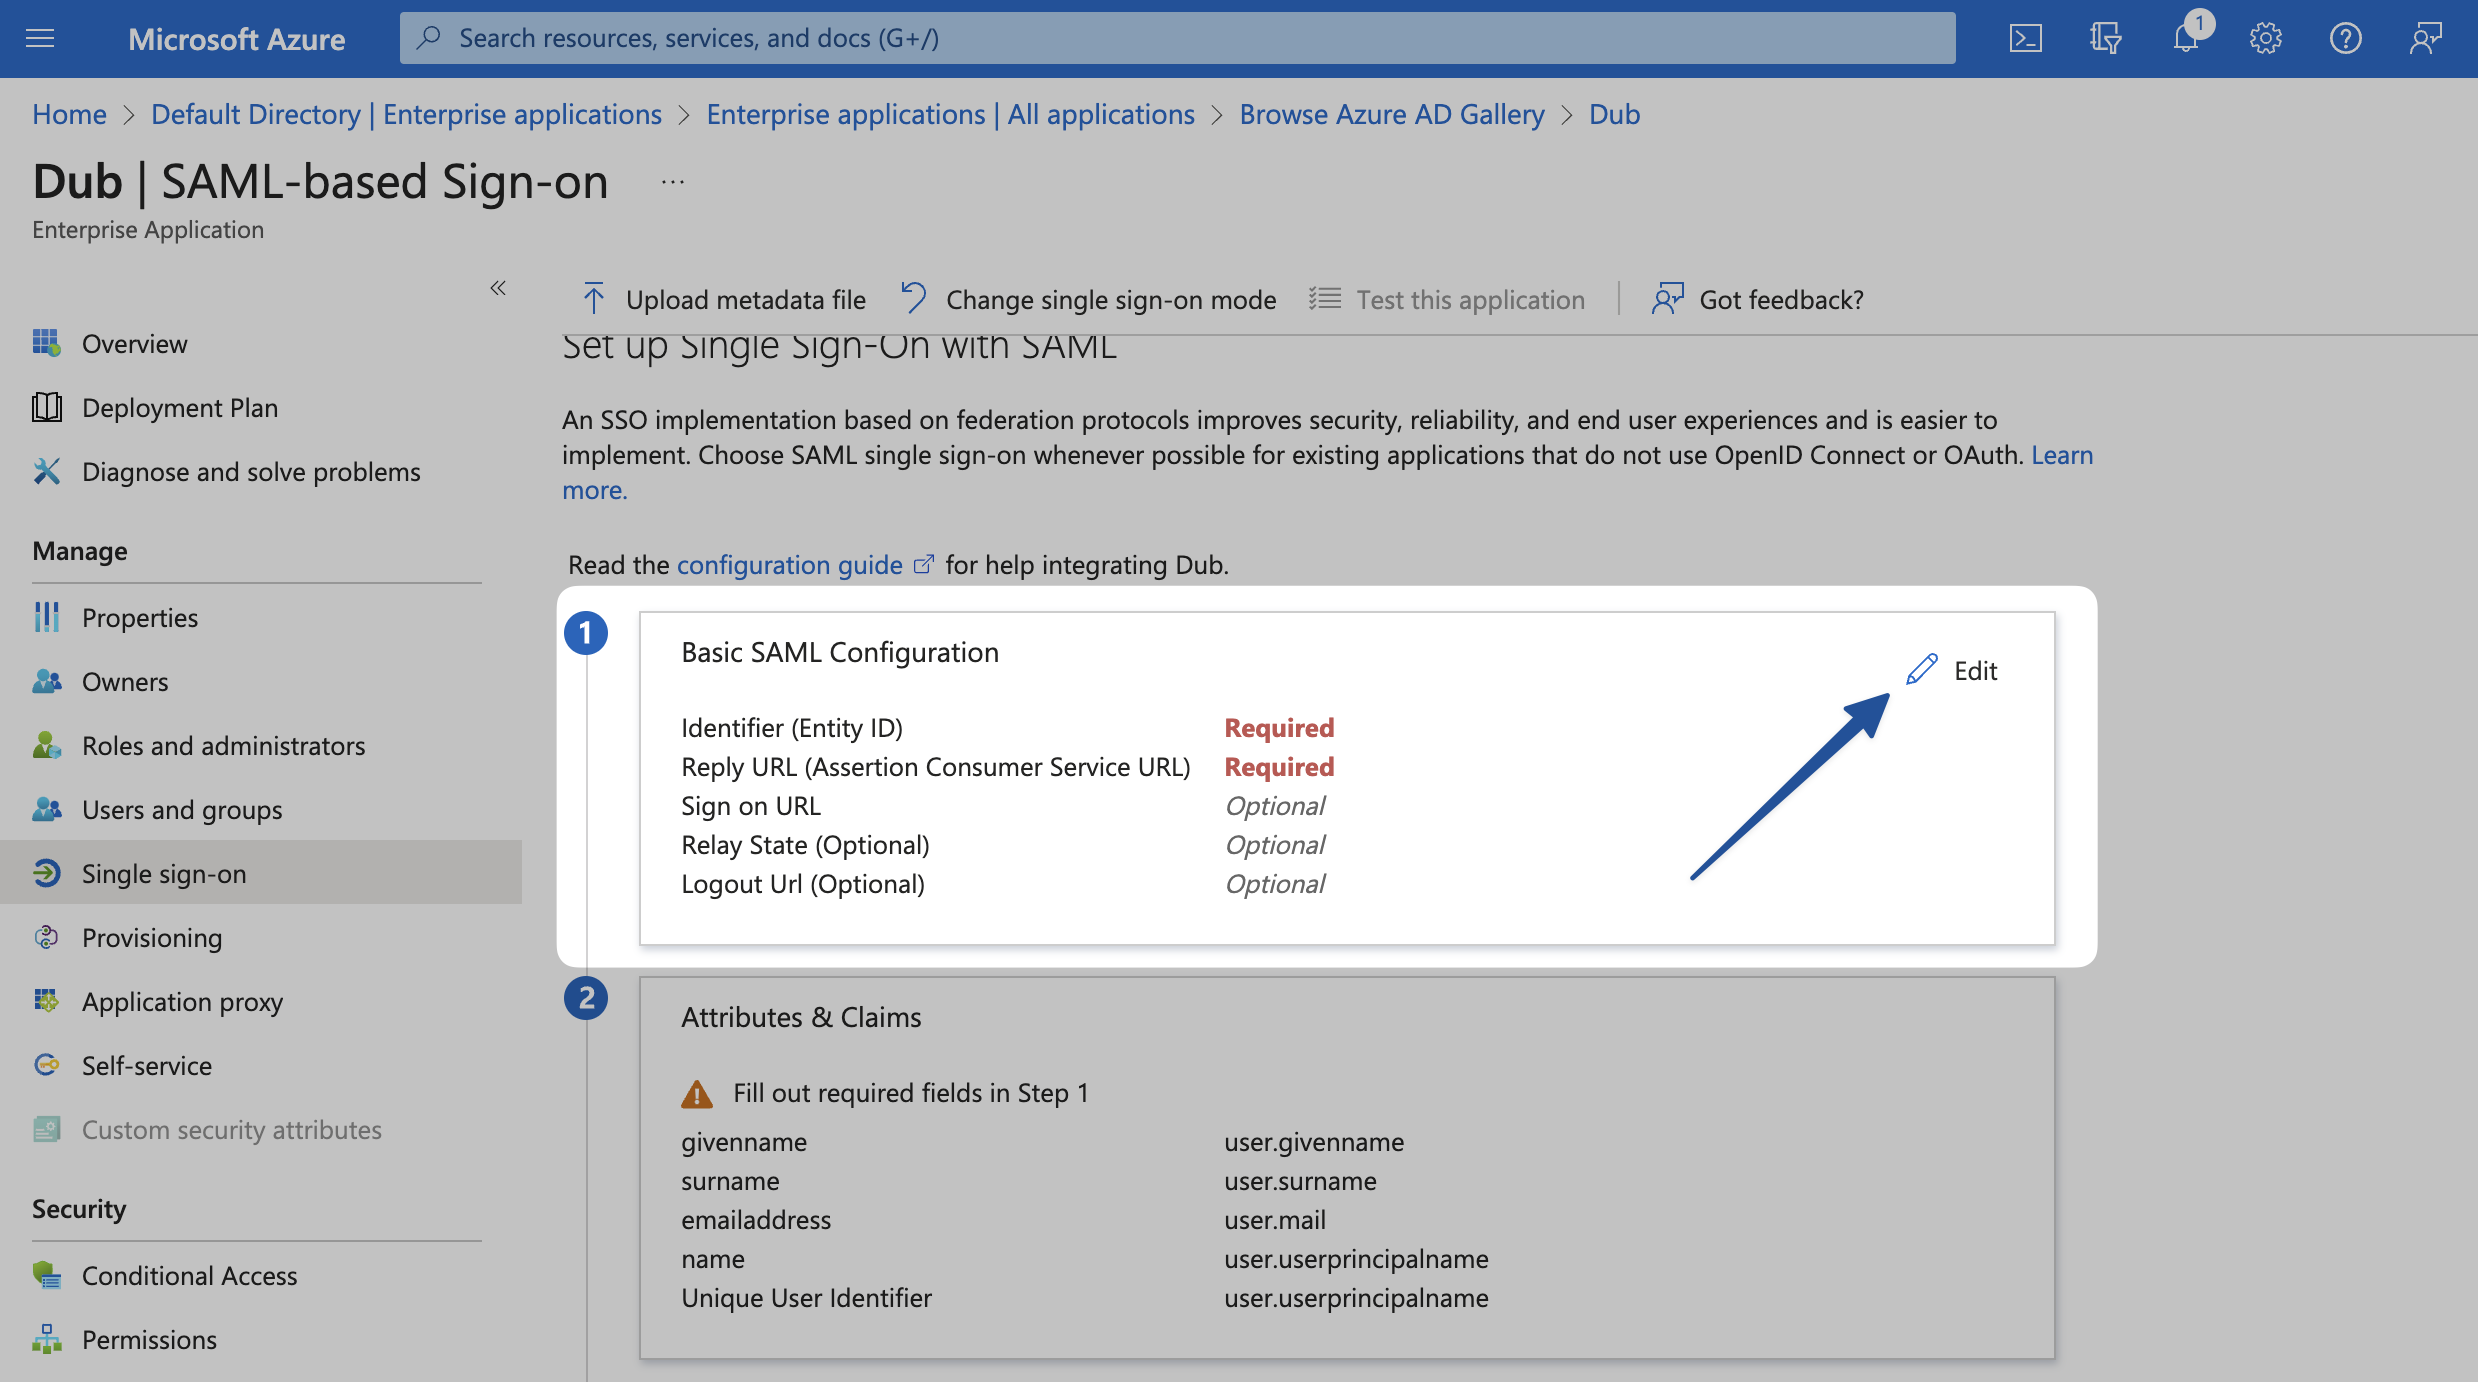
Under the Basic SAML Configuration section, click on Edit.
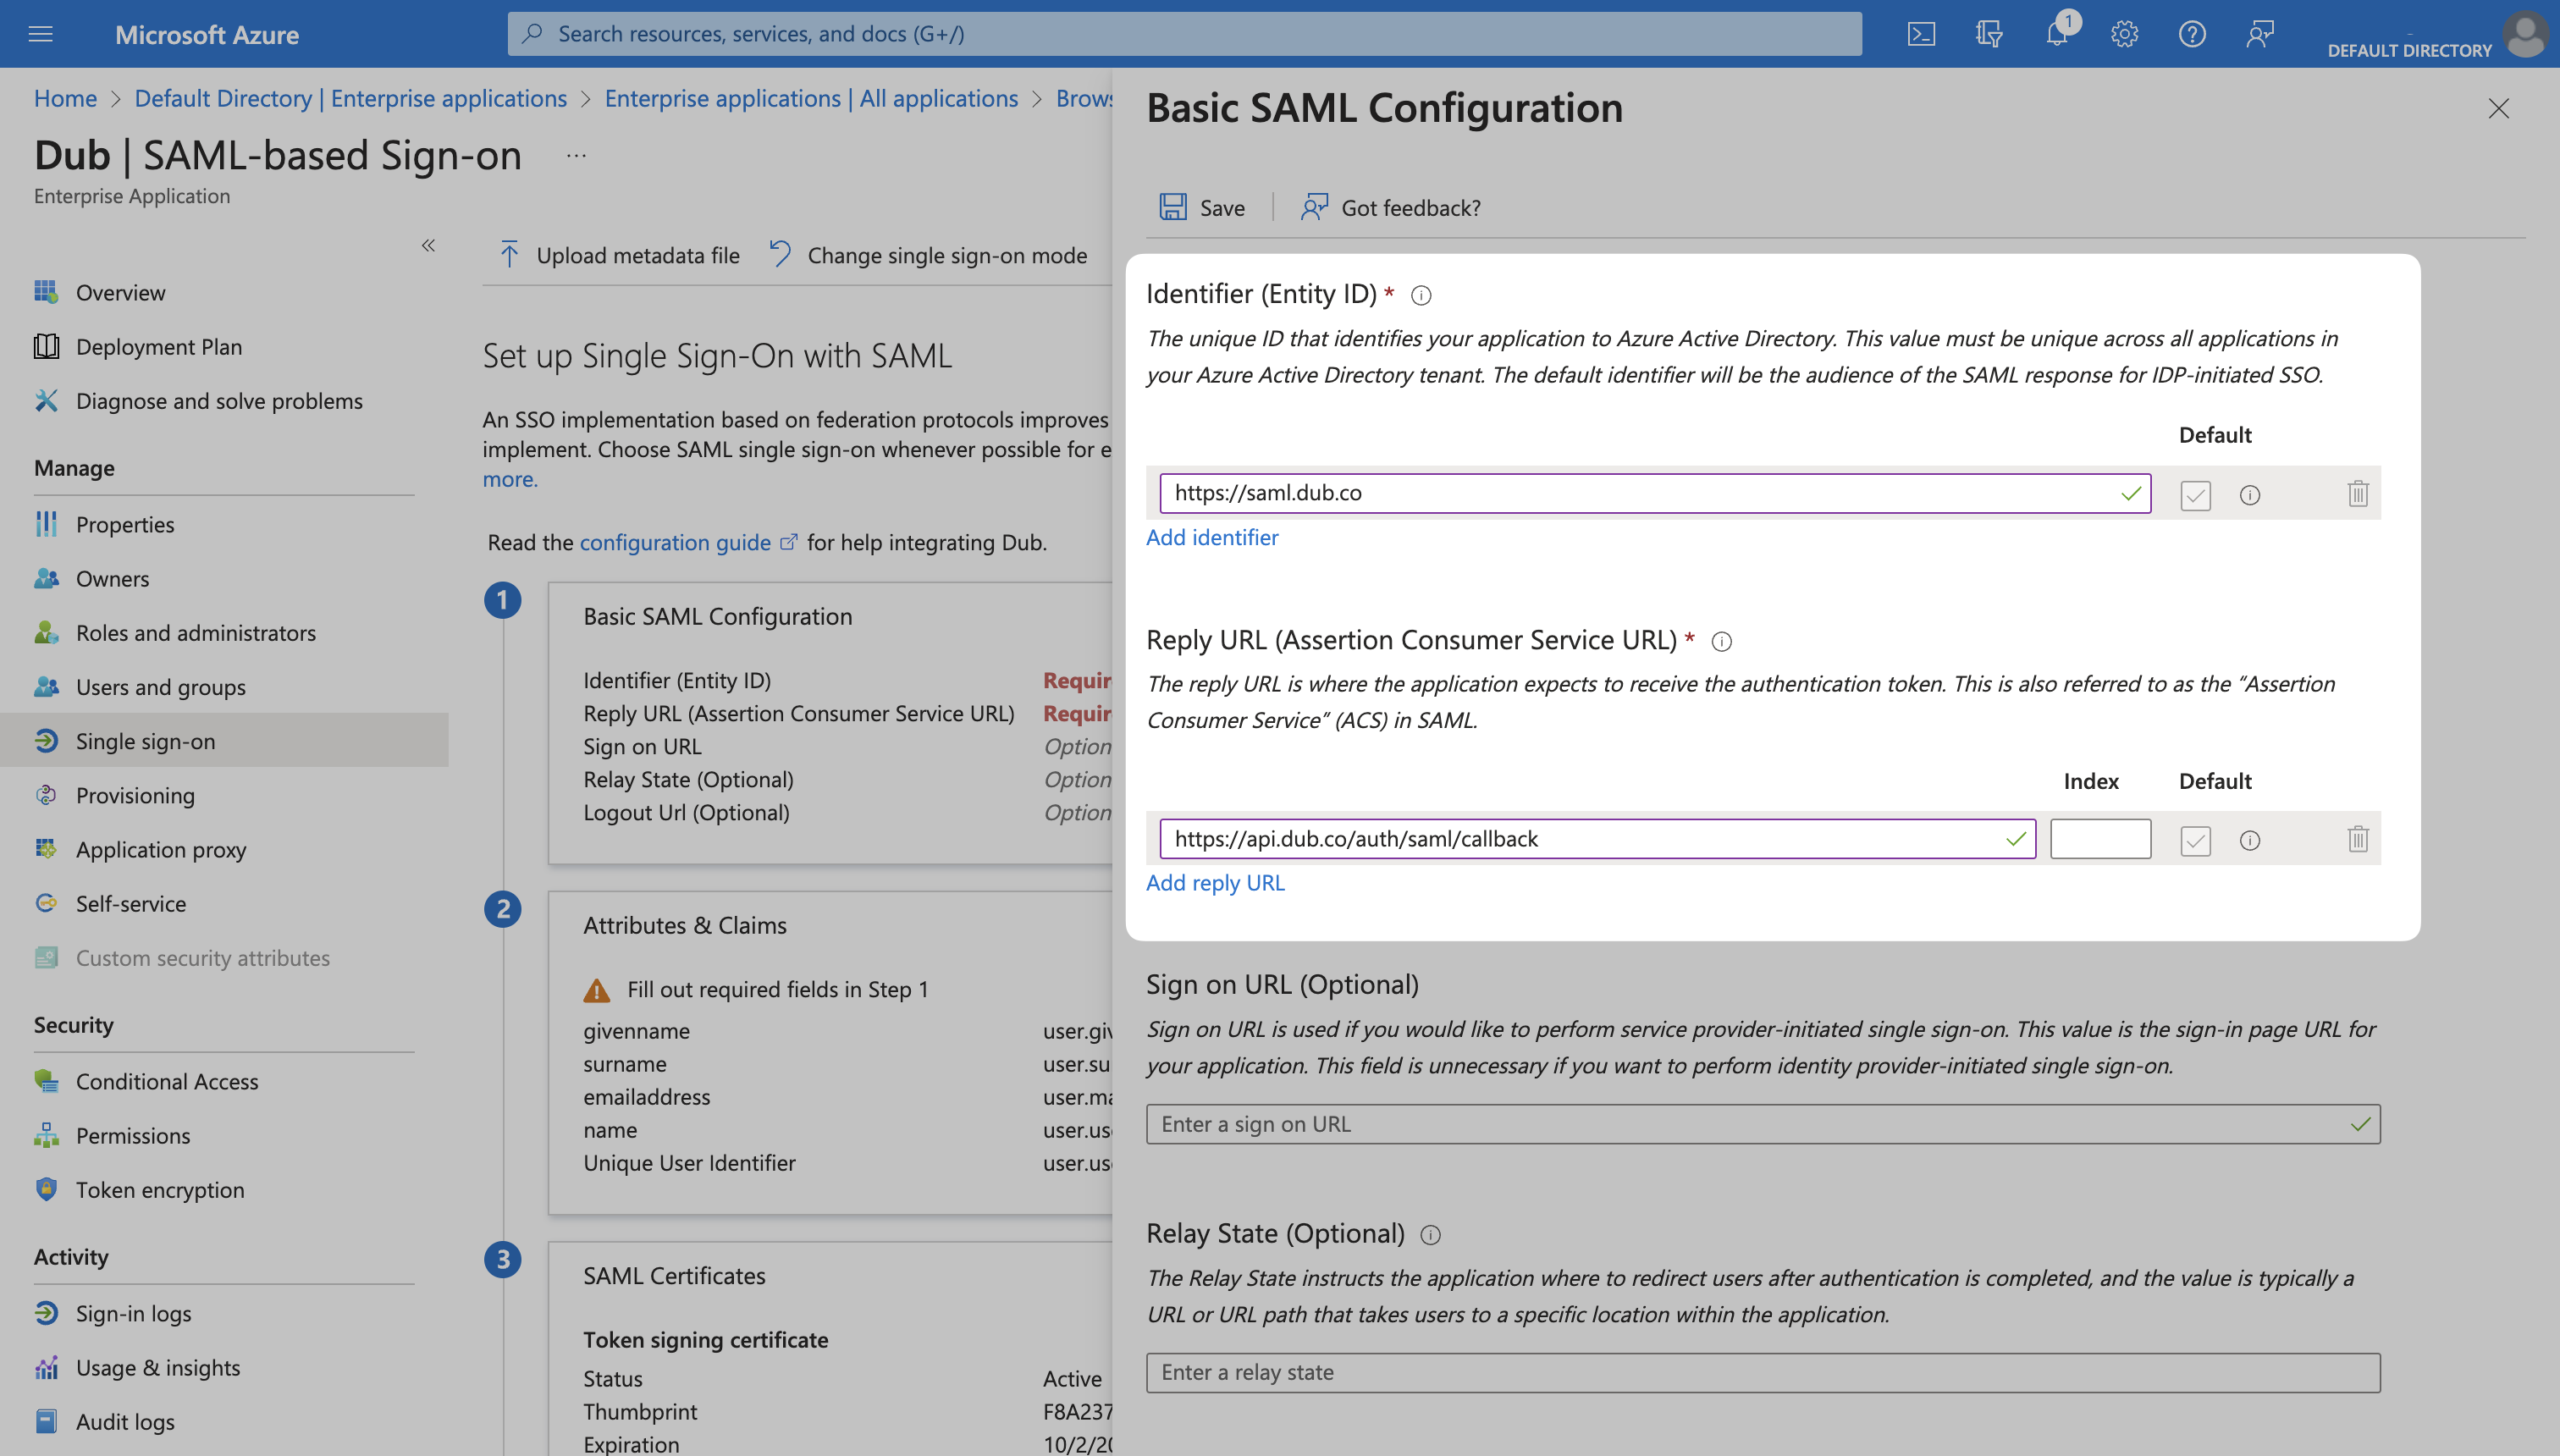
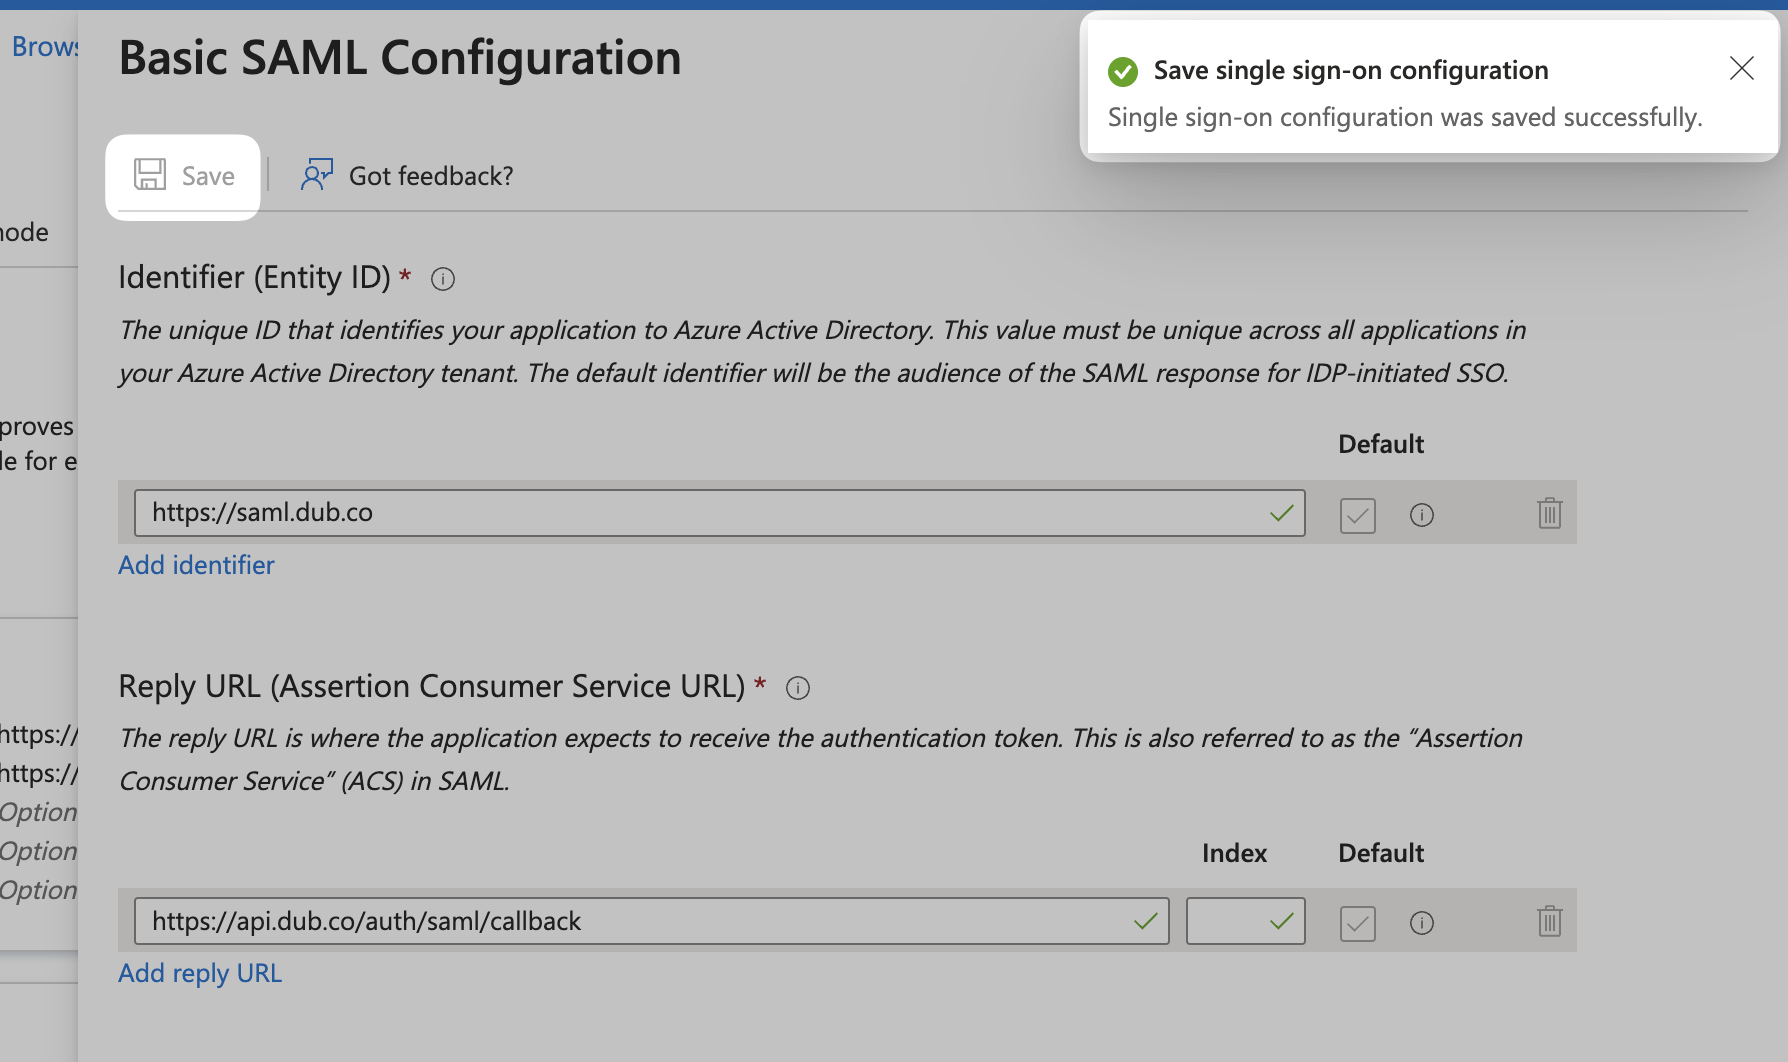
This will open up a sheet overlay. Under Basic SAML Configuration, enter the following values:
Identifier (Entity ID)
Reply URL (Assertion Consumer Service URL)
Click Save in the menu bar to save your changes.
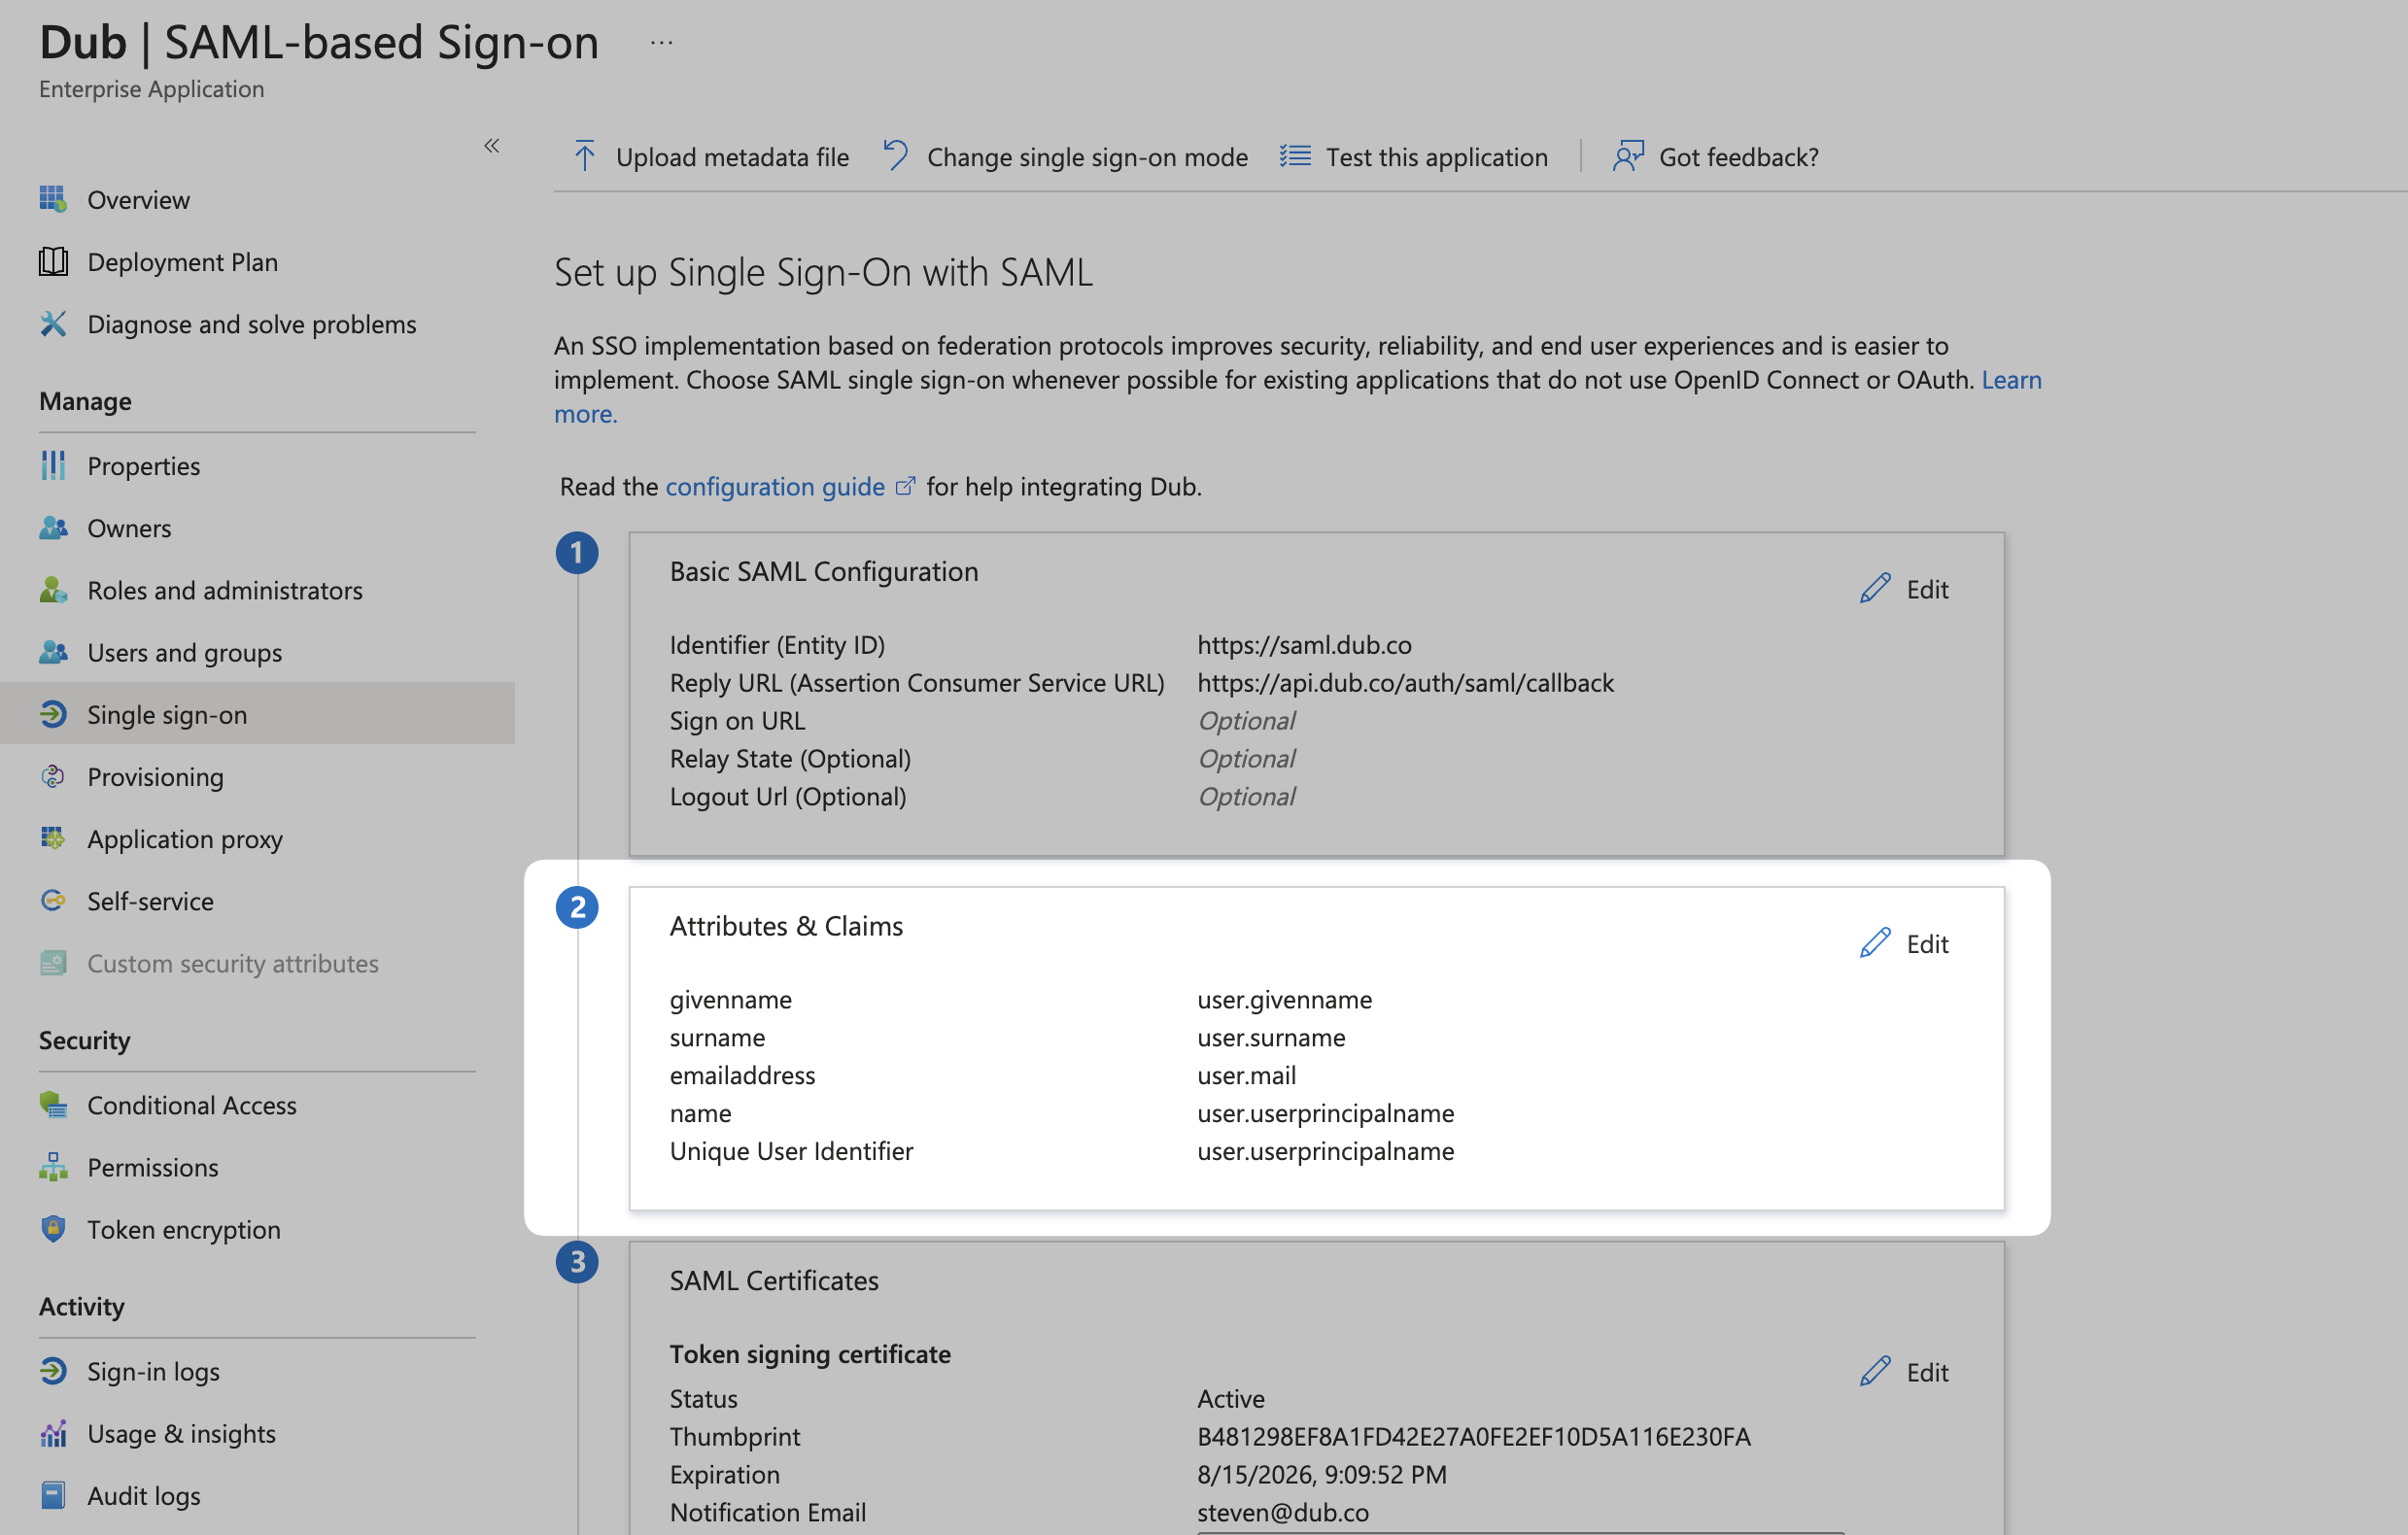
Step 3: Attribute Mapping
Click Edit on the Attributes & Claims section.
Under Additional claims, make sure the following entries are present:
| Name | Value |
|---|---|
| http://schemas.xmlsoap.org/ws/2005/05/identity/claims/emailaddress | user.mail |
| http://schemas.xmlsoap.org/ws/2005/05/identity/claims/givenname | user.givenname |
| http://schemas.xmlsoap.org/ws/2005/05/identity/claims/name | user.userprincipalname |
| http://schemas.xmlsoap.org/ws/2005/05/identity/claims/surname | user.surname |
Once that's done, click on the X button in the top right corner to go back to the main settings page (or click the back button in your browser).
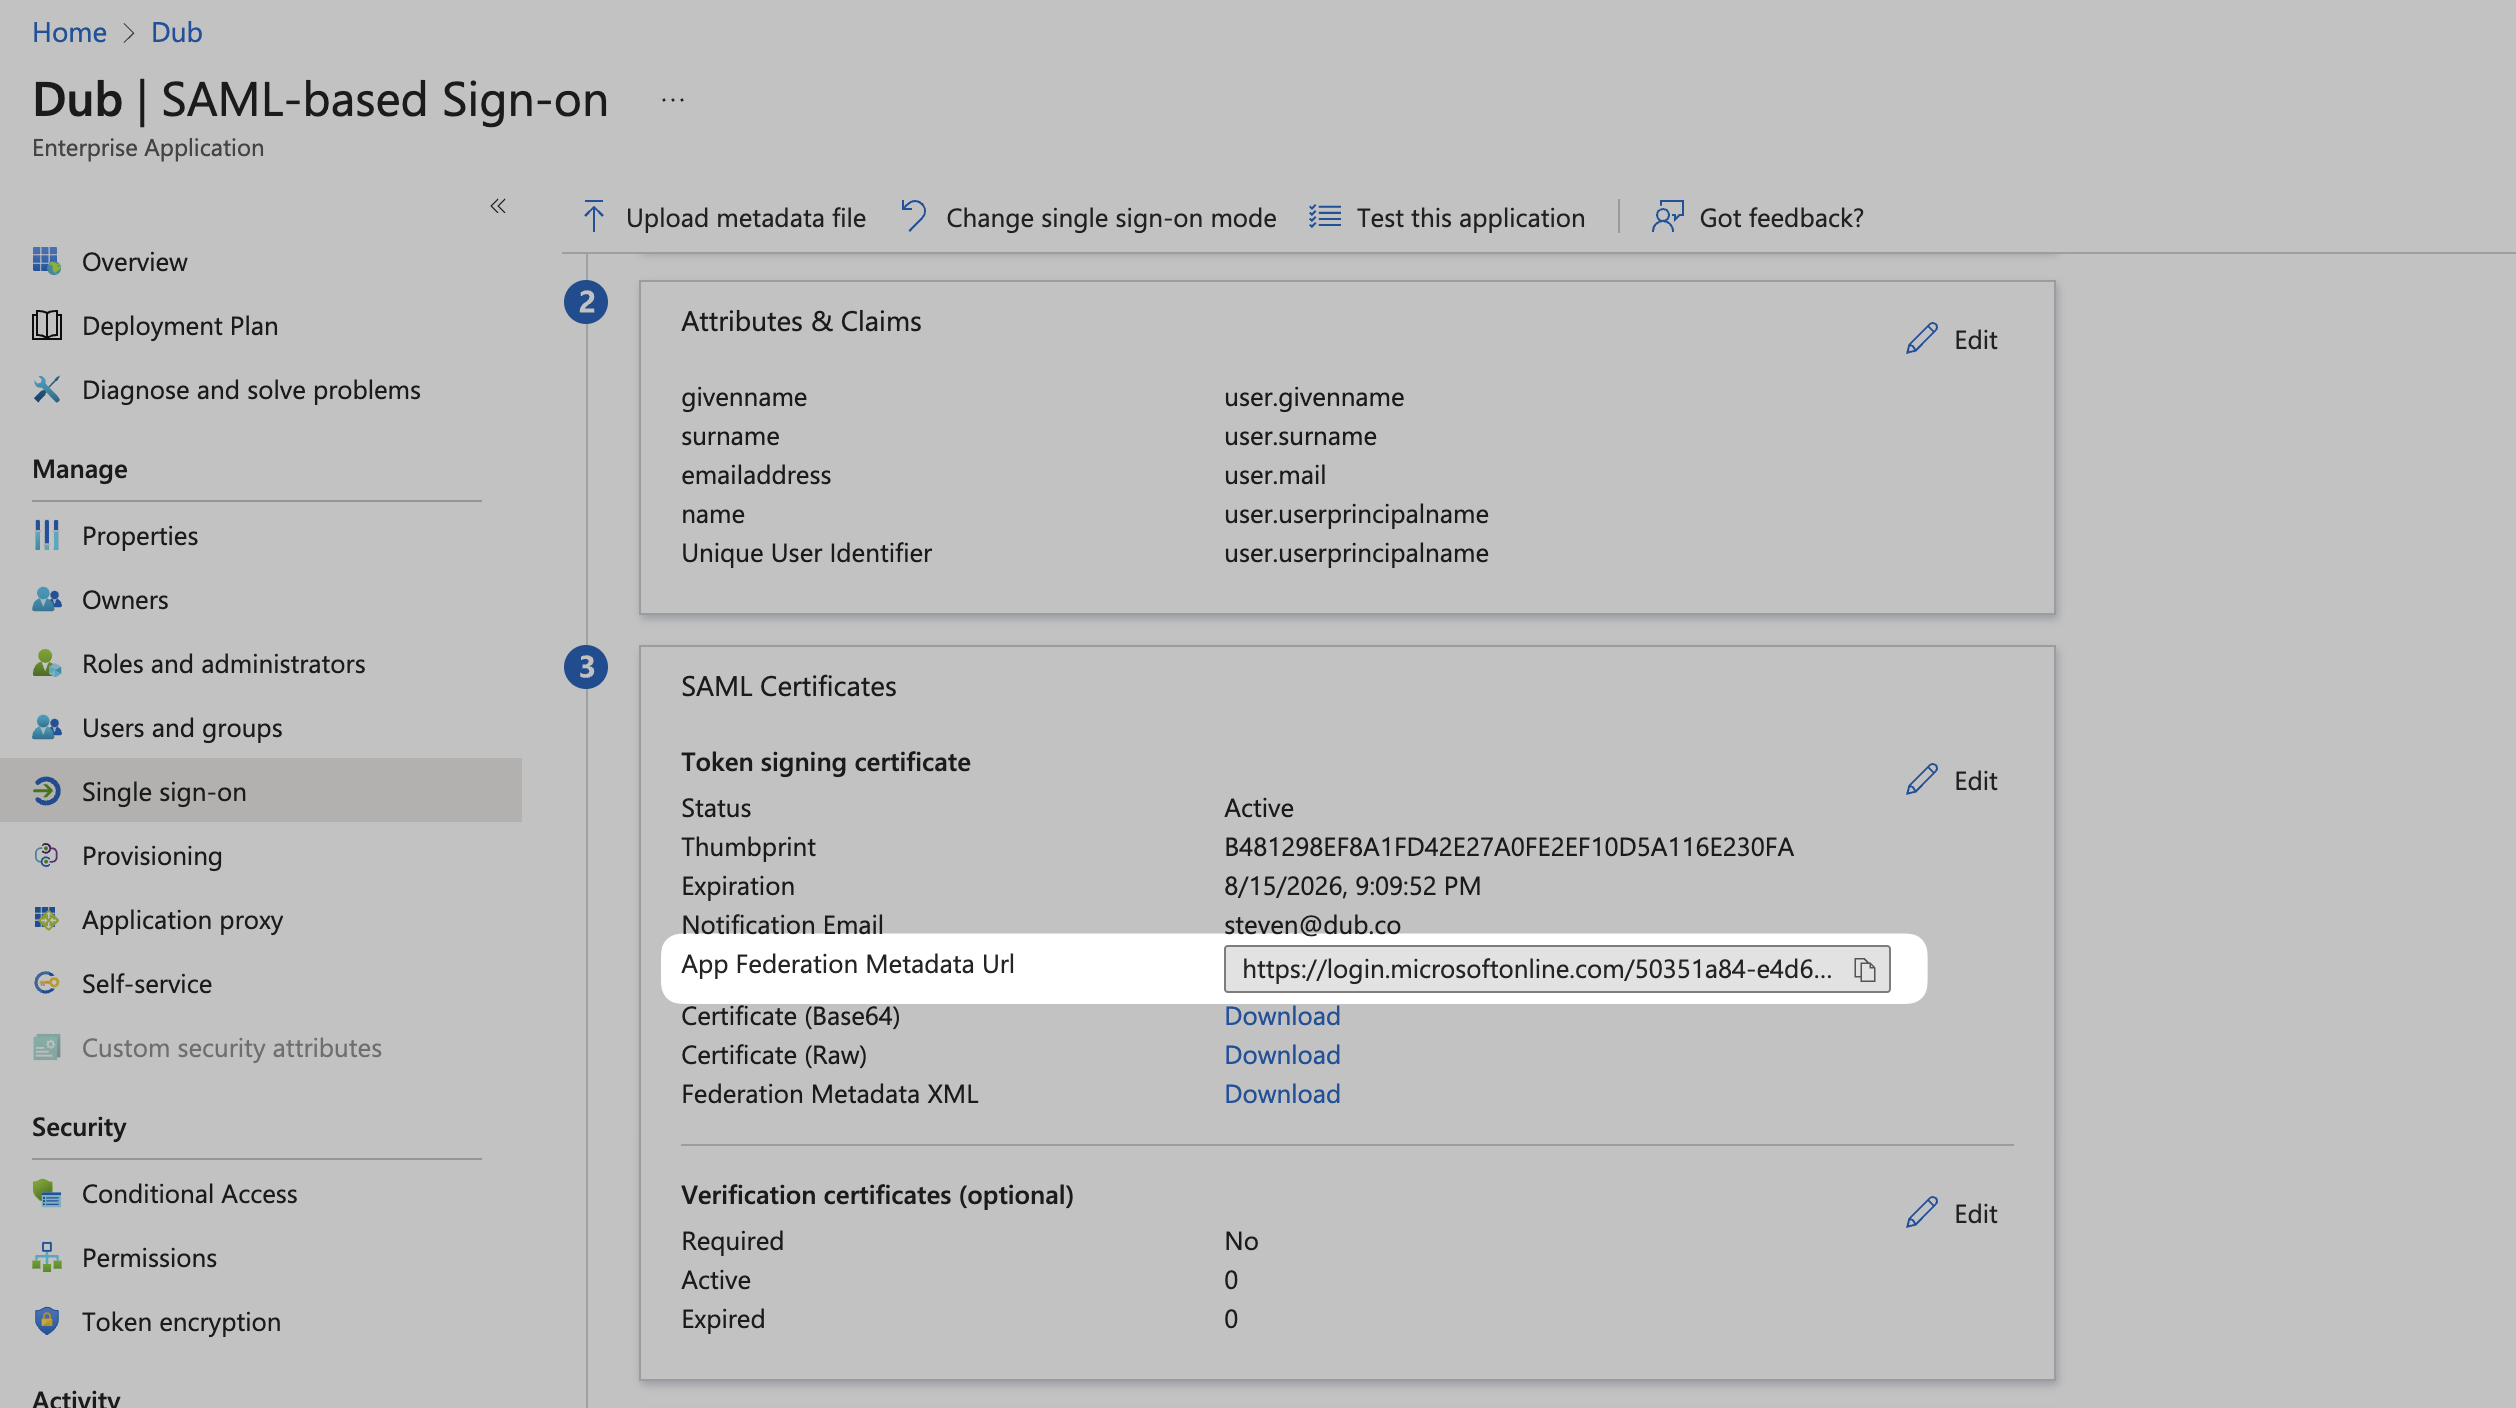
Step 4: Copy the Metadata URL
Scroll down to the 3rd section on the page, SAML Certificates. Copy the App Federation Metadata Url value and return to the Dub dashboard.
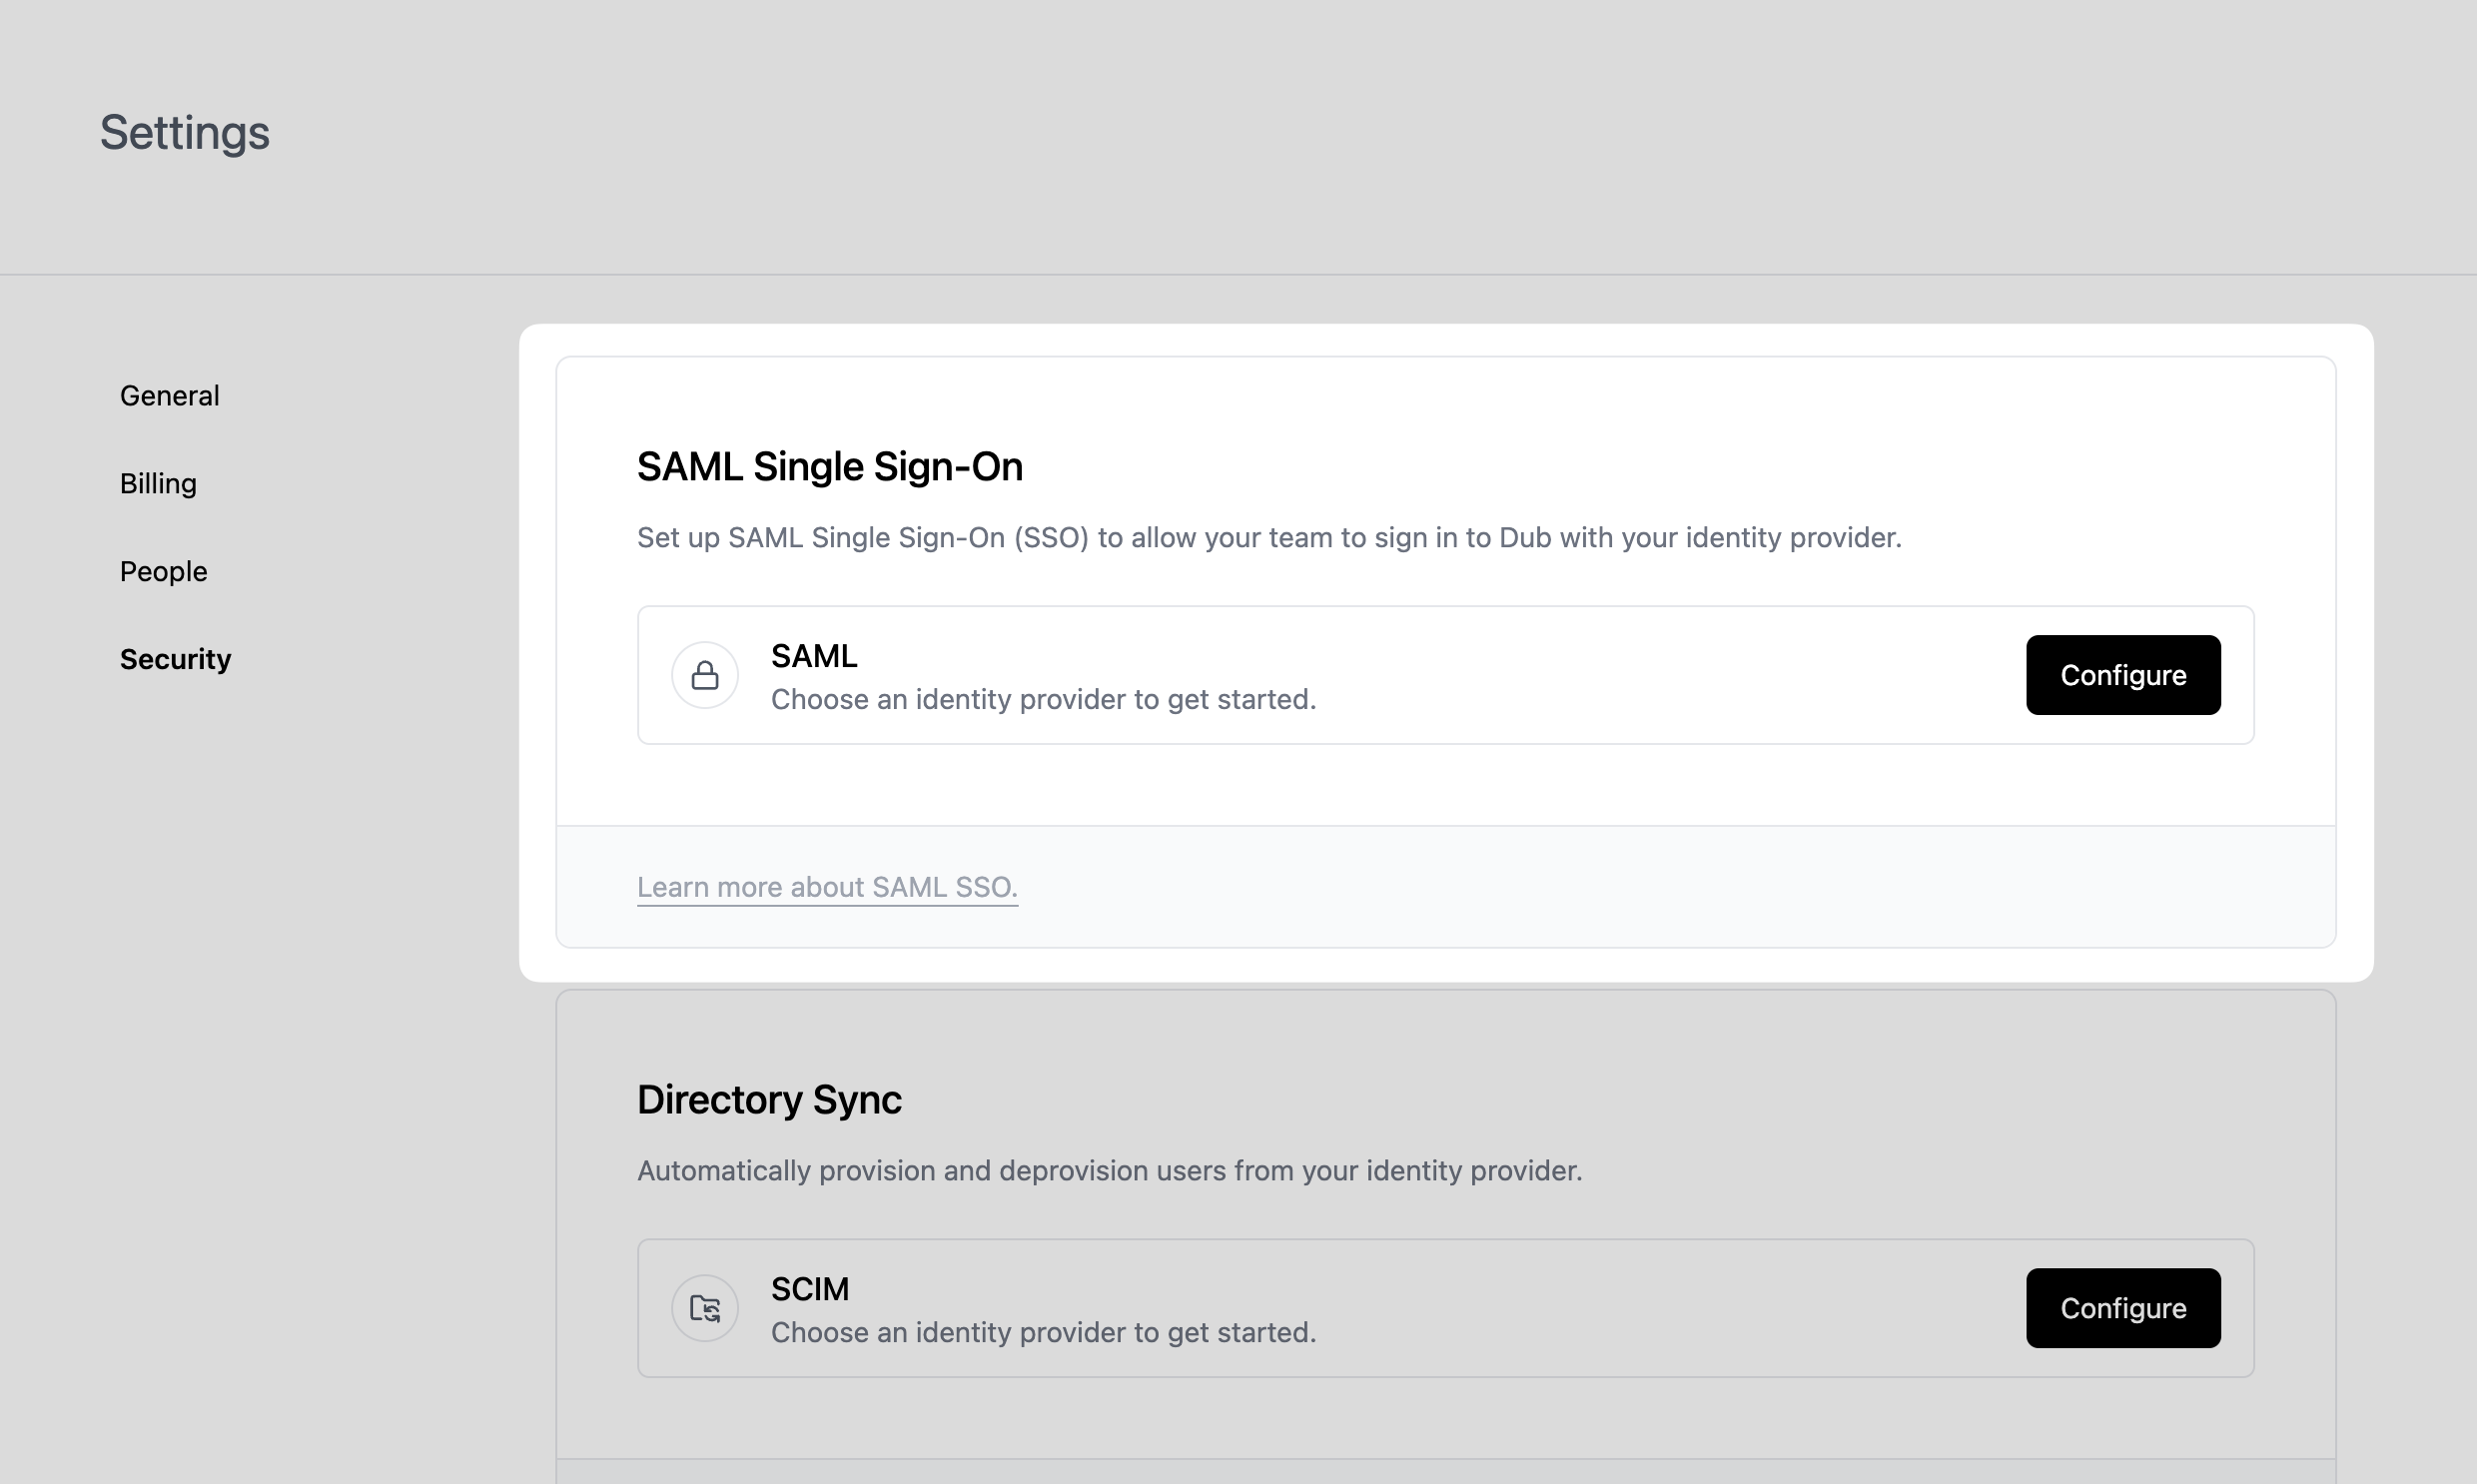
Step 5: Configure SAML SSO on Dub
In your workspace dashboard on Dub, click on the Settings tab in the menu bar at the top. Then, click on the Security tab in the sidebar.
Under the SAML Single Sign-On section, click on Configure. This will open up the SAML SSO modal:
- Select Azure AD as the SAML provider.
- Enter the App Federation Metadata Url value that you copied from Step 4.
- Click Save changes.
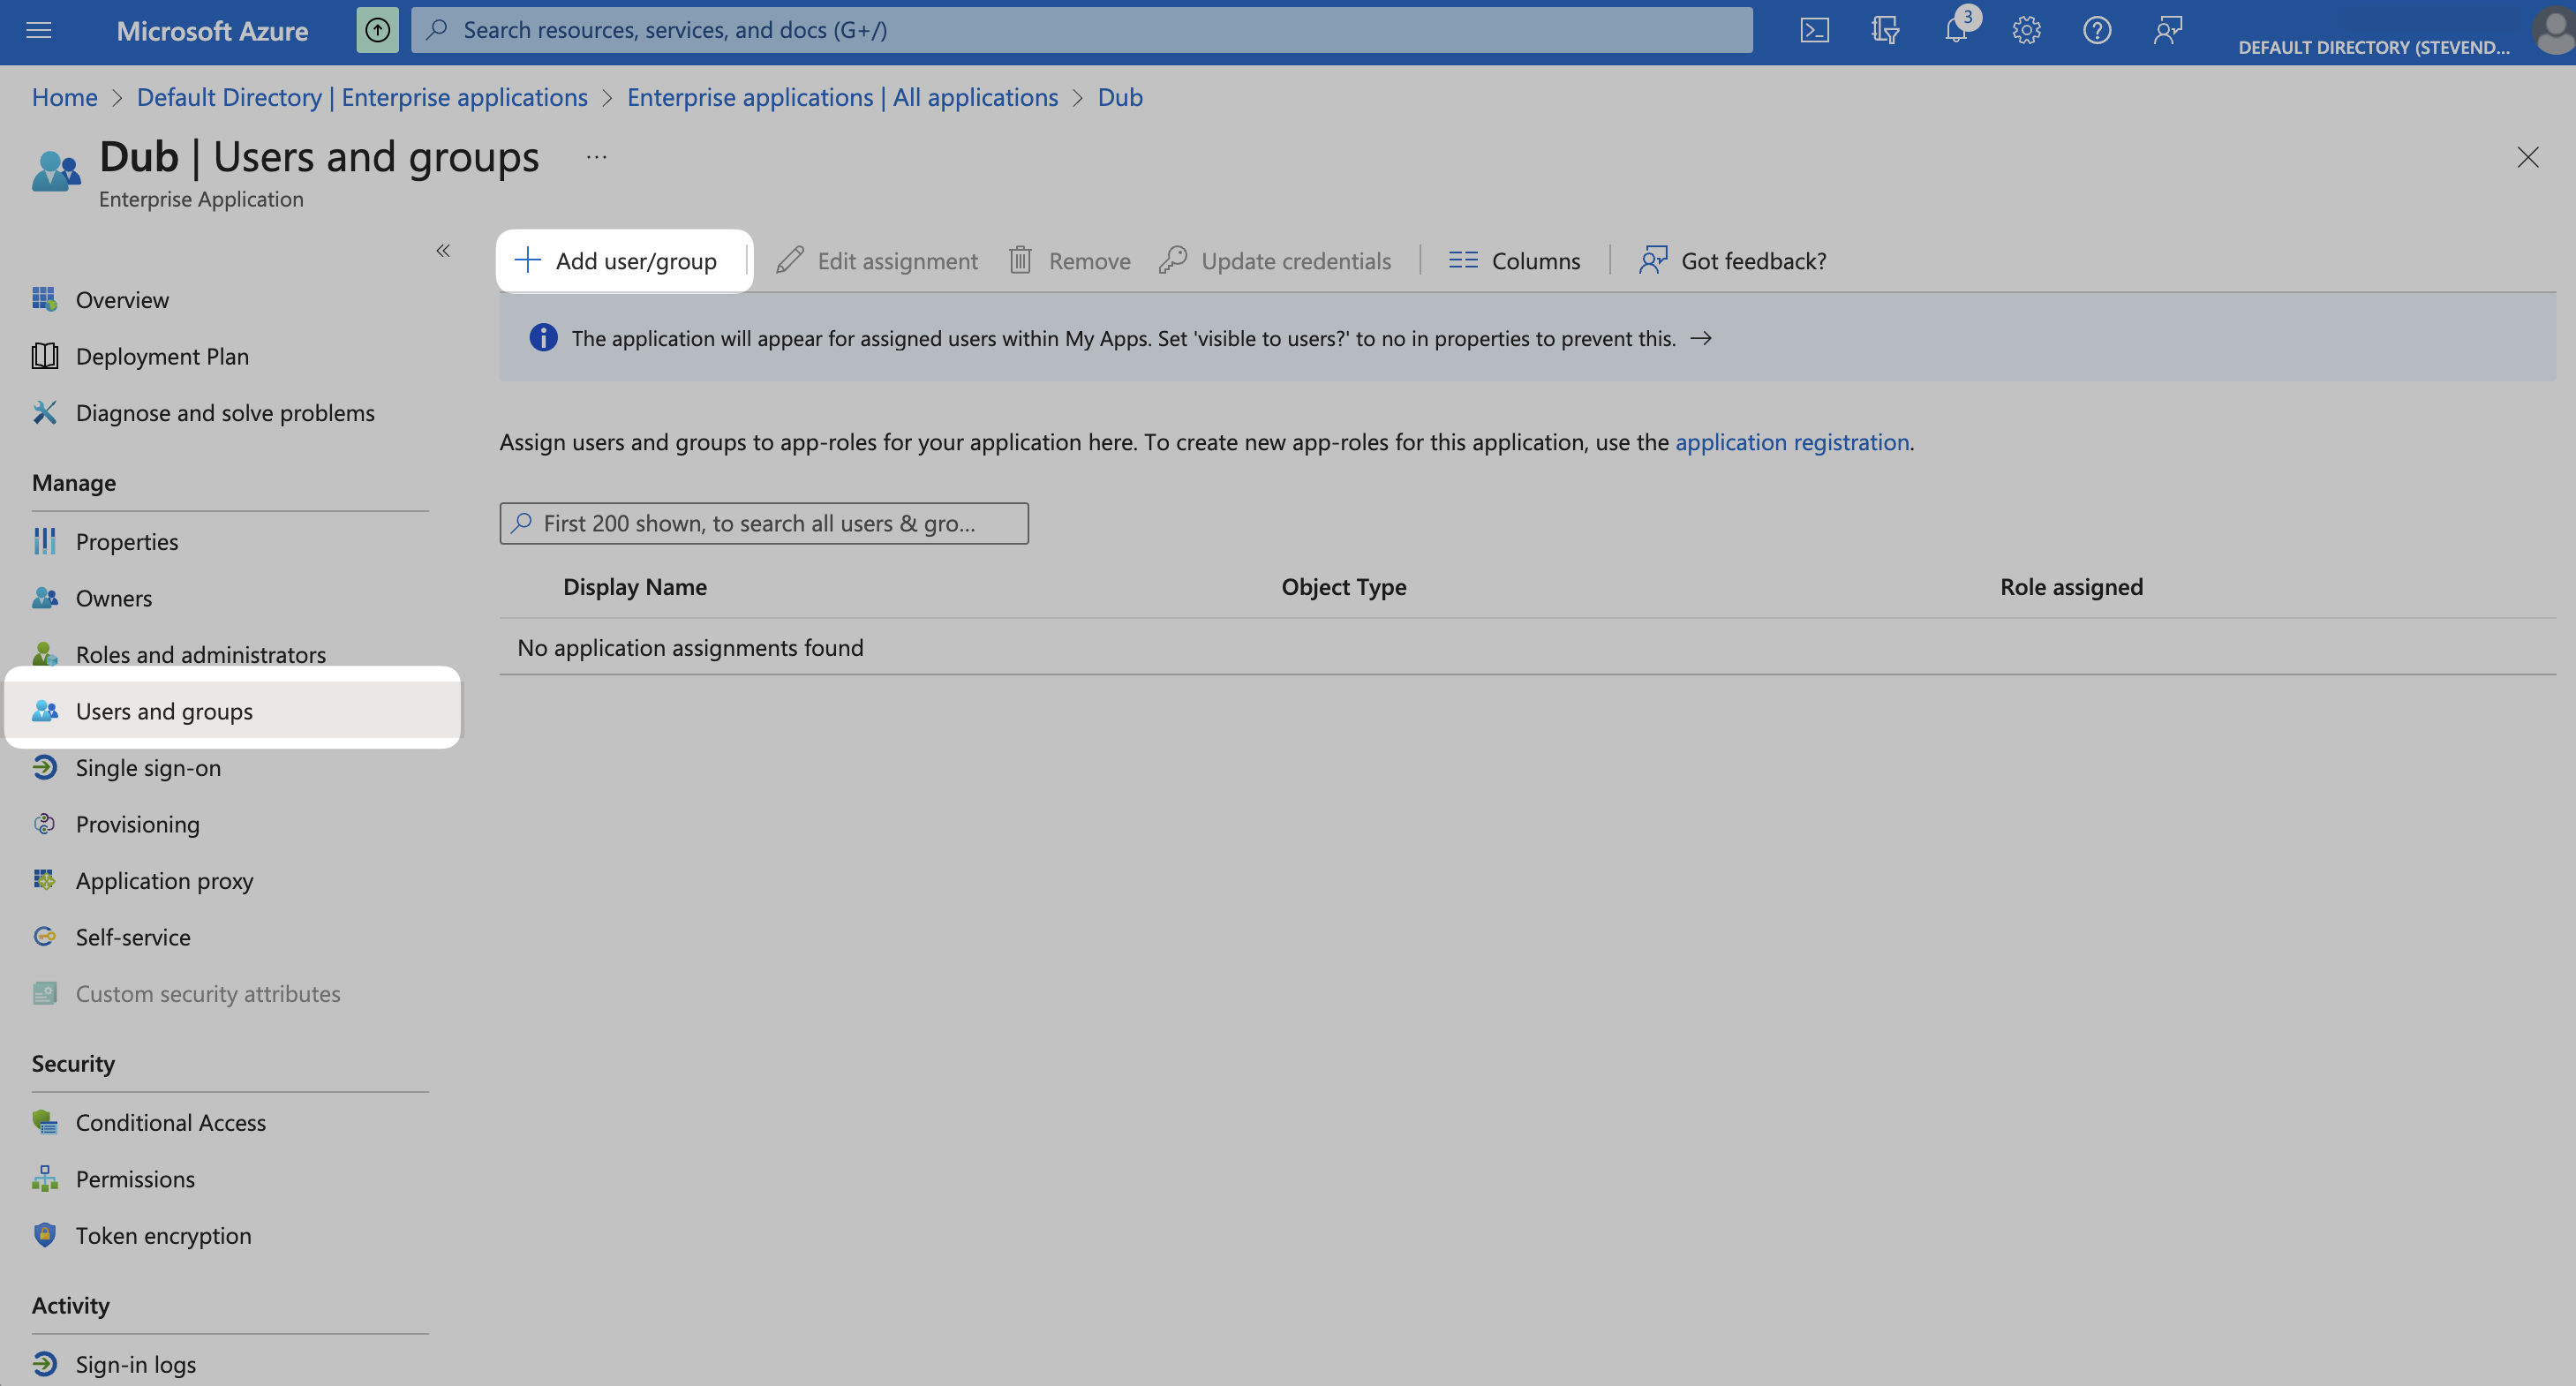
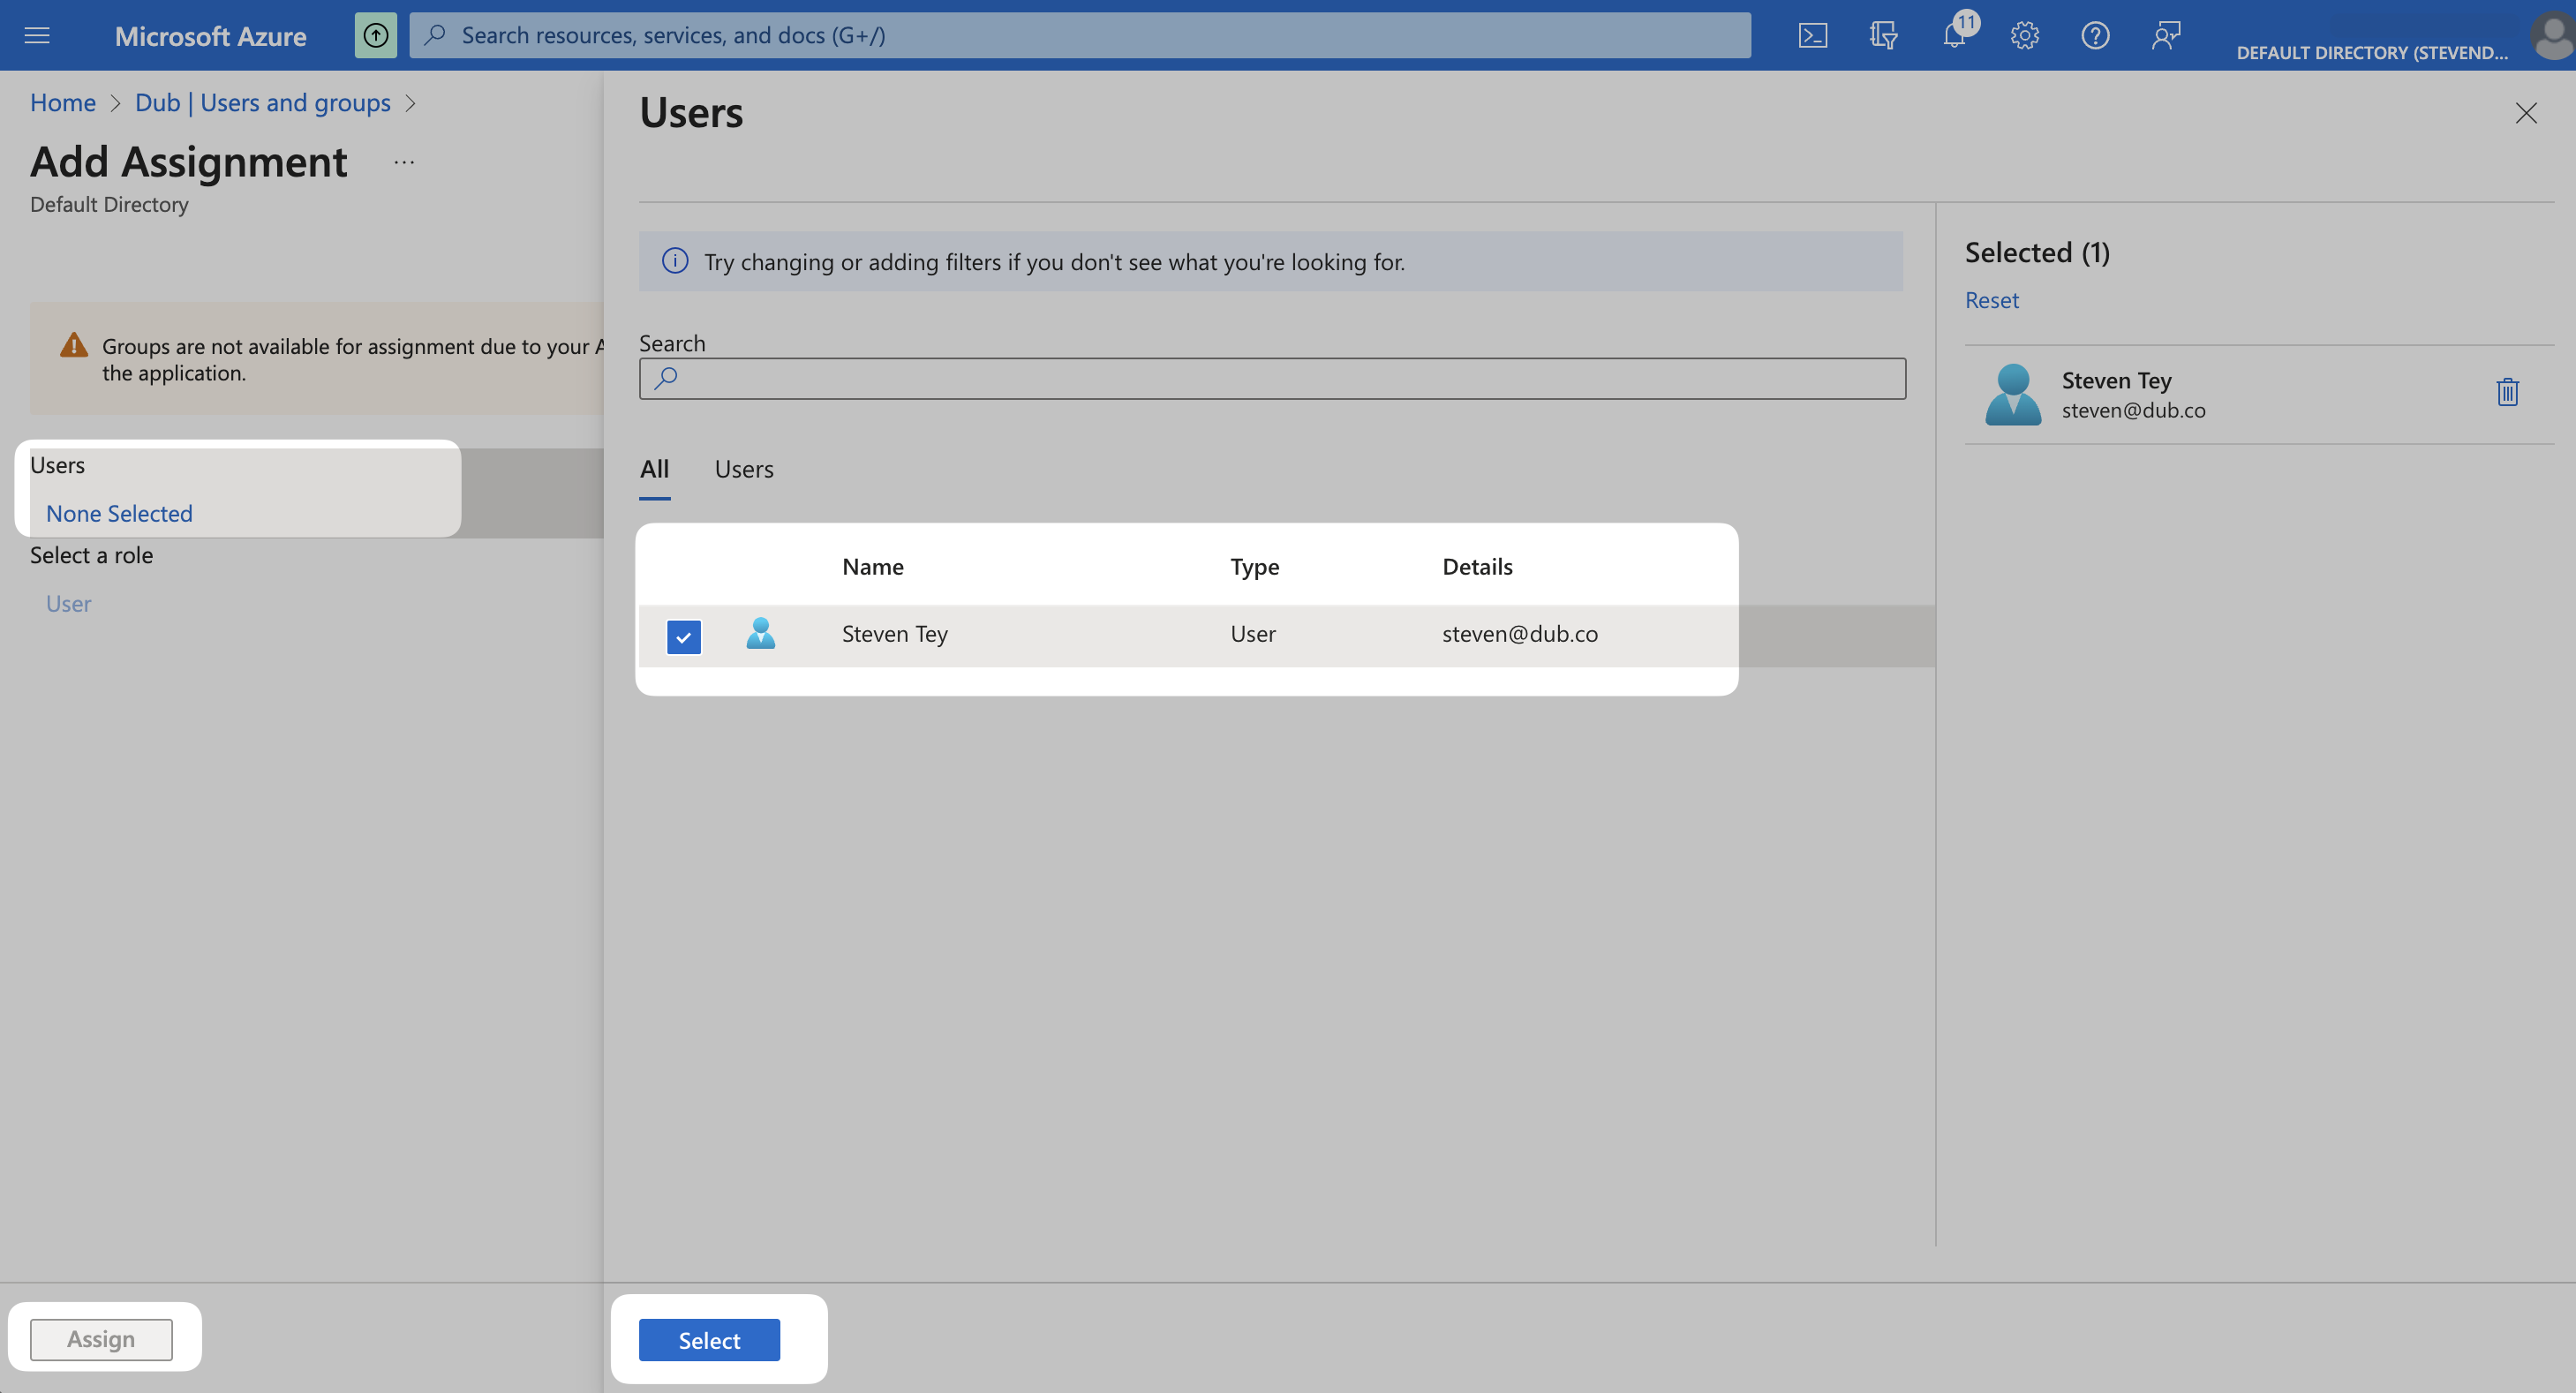
Step 6: Assign Users
We highly recommend configuring SCIM Directory Sync before assigning users & groups to your workspace. This will ensure that your users are automatically added to your workspace when they sign in for the first time, as well as automatically removed when they are deactivated in Azure.
Once you've configured SAML SSO, you can start assigning users & groups to your workspace.
From your application, click the Users and groups from the left navigation menu and click Add user/group.
Click on None Selected under Users.
From the right side of the screen, select the users you want to assign to the app and click the Select button. Thenm click Assign to those users to your app.
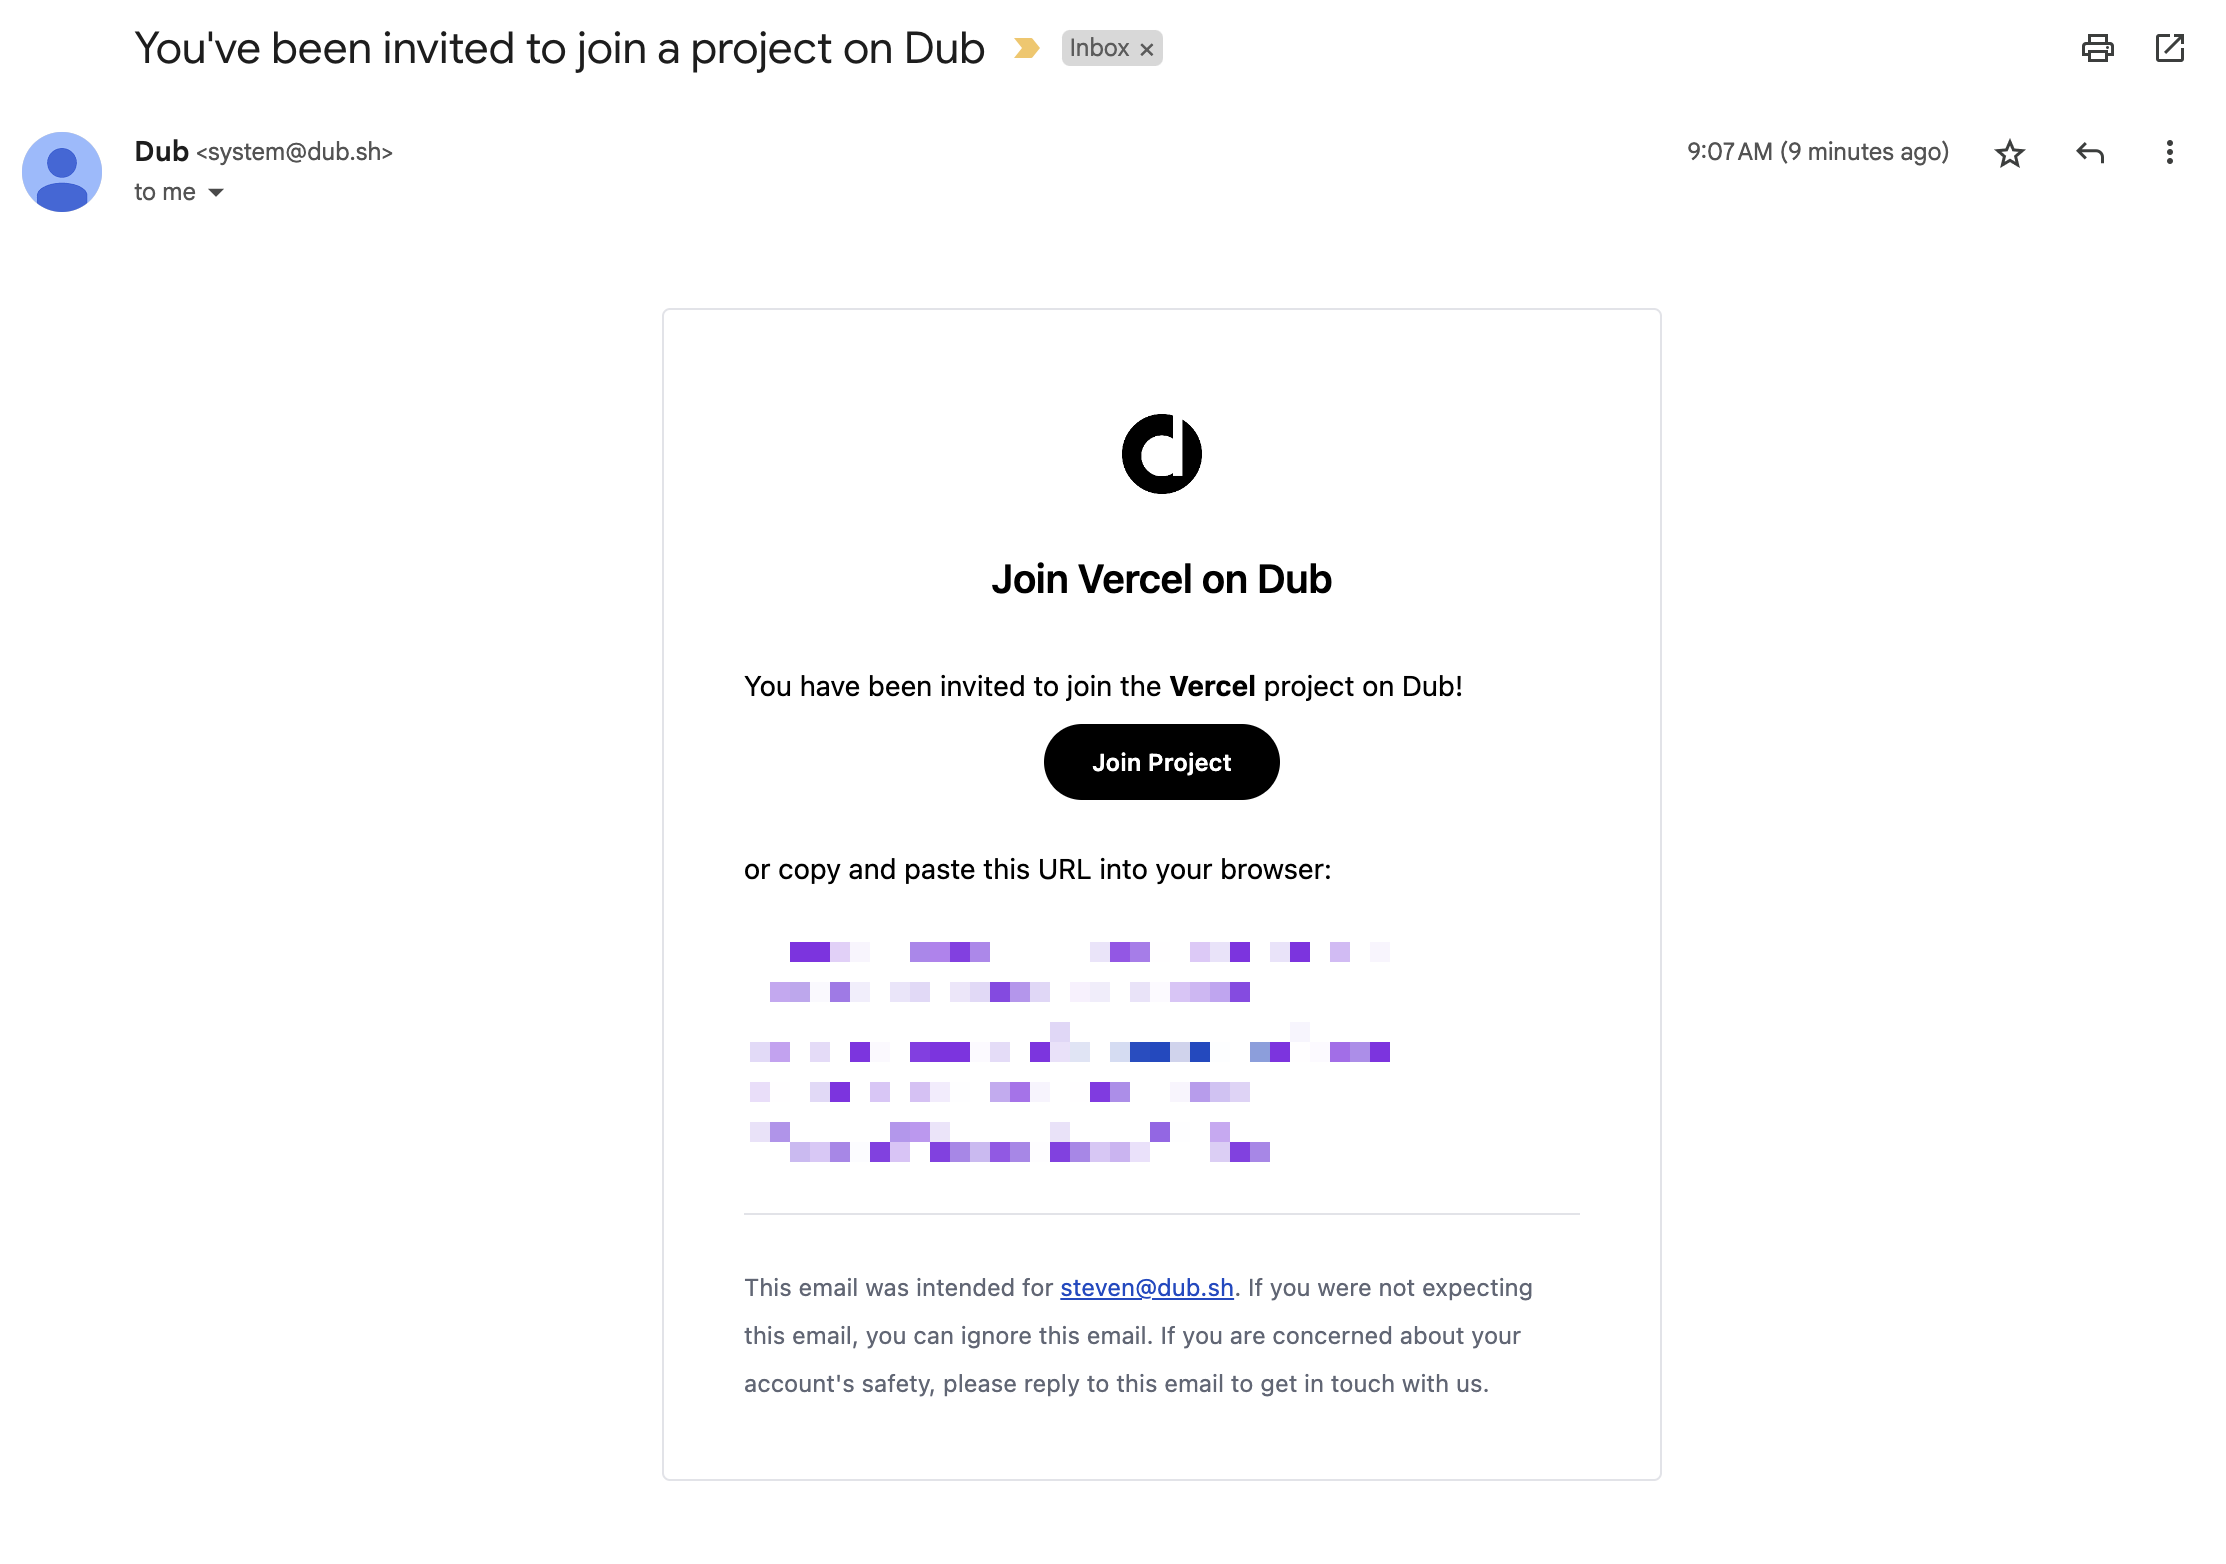
Your assigned users should now receive an invitation email to join your Dub workspace.
Azure AD SCIM provisioning can take anywhere between 20-40 minutes to sync. This means that it may take up to 40 minutes for your users to receive the invitation email and be able to join your Dub workspace.
They will also be able to sign in to Dub using Azure AD SSO.